Danby Kegerator two draught faucet upgrade

Draught Tower Upgrade

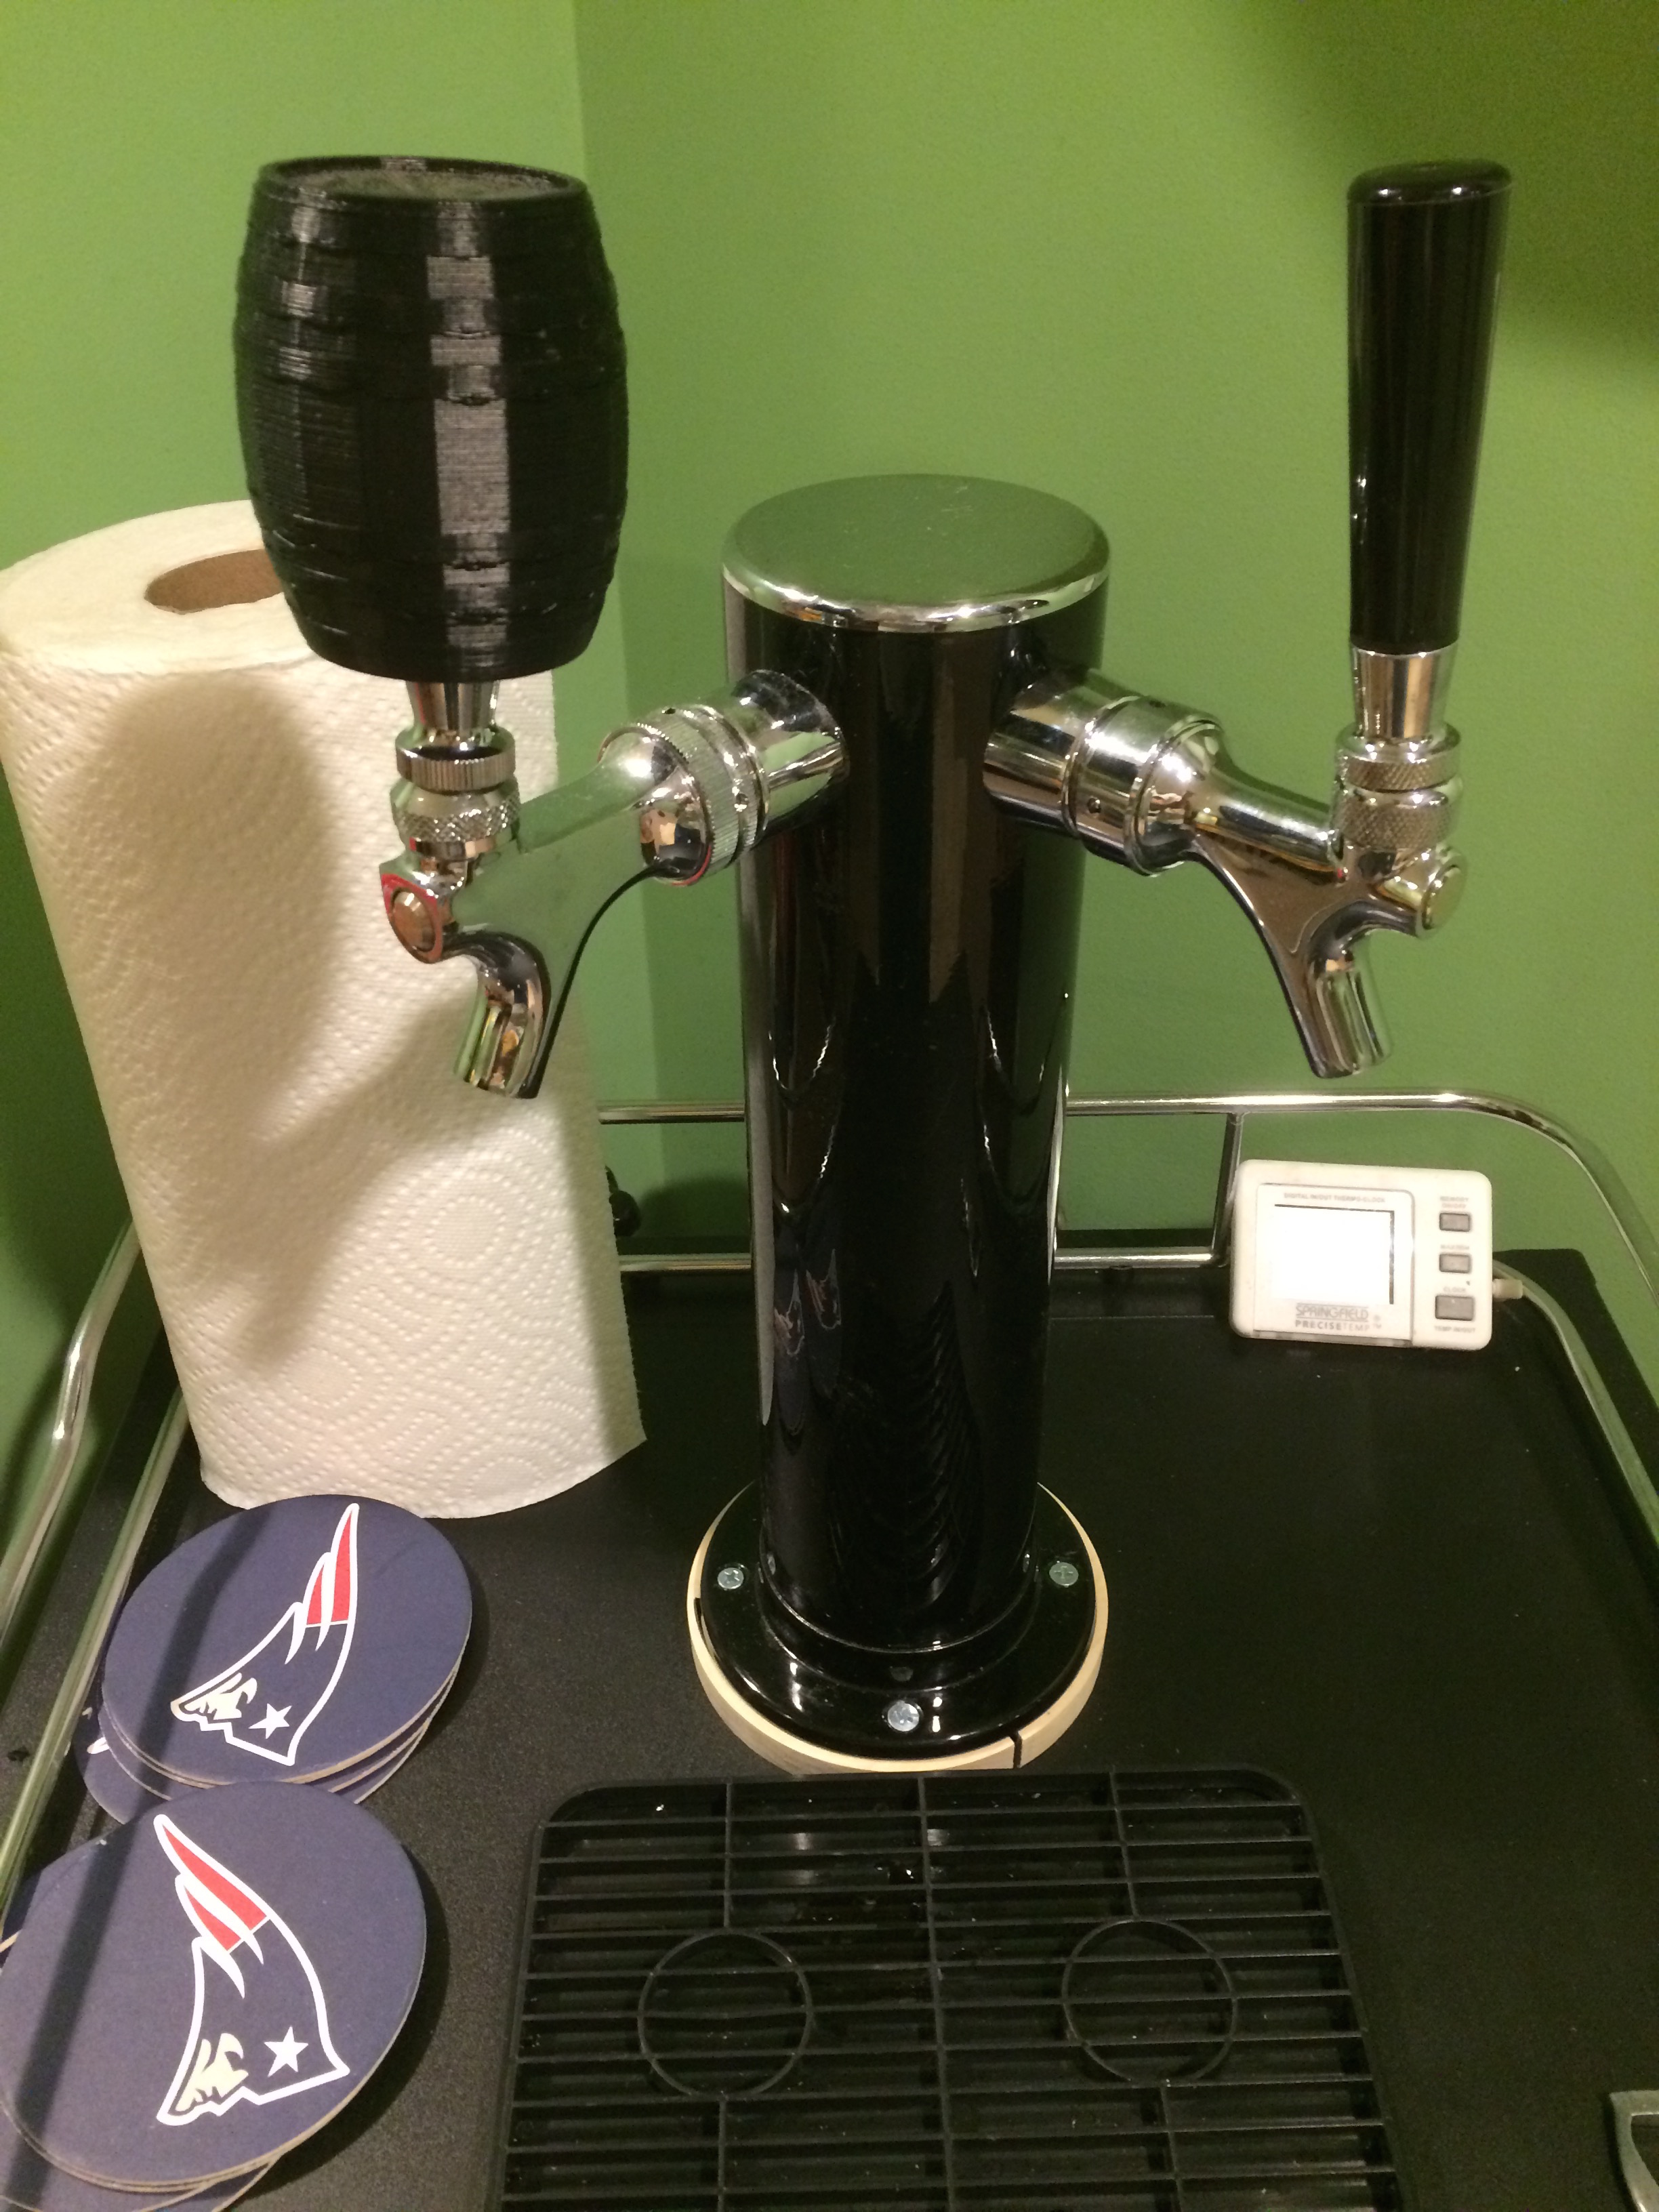
I have a Danby DKC14SLDB 5.2 cubic Foot Single Draught Kegerator  I purchased several years ago.  Several times a year I find myself with two pony kegs of homebrew I want on tap.  Only having a single draught faucet was really cramping my style.  I decided instead of purchasing a whole new tower with two faucets ($90)  or an adapter ($70), which would have required the additional faucet anyhow, I would make it work on the cheap.  I set out by purchasing the following  items form Beveragefactory.com (note I have been home brewing for a long time and as such I have some old Coca-Cola pin-lock kegs that I normally use – please purchase whatever keg coupling is appropriate for your application): Read more

Autodesk Fusion 360 CAM Post-processor for ShapeOKO

I recently started playing around with Autodesk’s Fusion 360 3D modeling and CAM software.  I managed to fumble my way through making some quick designs and setting up a simple cam job to make a tool holder.  Designing the part was quick and so was setting up the CAM operation.  However when exporting the G-Code through the grbl post-processor I discovered the G-code was using G28 (return to home) which isn’t supported in a stock ShapeOKO 2.  Limit switches would need to be installed for this to work and for it to be turned on in grbl.  The default startup G-Code using the grbl post processor looks like this:

%
(1)
(T4  D=6.35 CR=0 - ZMIN=-19.525 - flat end mill)
G90 G94
G17
G21
G28 G91 Z0
G90

Read more

ShapeOKO 2 Grbl 0.9G Upgrade

I was cutting on my ShapeOKO 2 last weekend and having major issues with missing steps on the Z.  During fast retracts the Z would just hum resulting in passes where the tool wouldn’t clear the work resulting in more or less catastrophic failure.  Either the work piece was damaged or the bit from trying to be forced through way more material it should be before I hit the e-stop.  After some research I came to the conclusion that the stepping was the culprit.  The steppers are configured correctly, wired correctly and moving as freely as possible but the controller would step at a rate that was causing issues on the Z.

After a little research I found that there was an update to GRBL version 0.9G that in addition to having a better acceleration planner the maximum feed rates could be configured per-axis.  This is a pretty big deal because in 0.8C all the axis are limited by your slowest axis – which is the Z.  Because of this cutting speeds are severely limited on the axis that one spends most of the time cutting on.

Read more

Slic3r Success

Everything is dialed in now in Slicer for my good old MakerBot Thing-O-Matic.  I recently started printing with PLA instead of ABS and I can honestly say I am getting used to it.  ABS certainly has it’s place but PLA does print really nice too once it’s dialed in.  I made this fantastic Valentines Keychain for my family members.  This was printed called to 75% of the original size from the original Thing posted on Thingiverse.  This cool print in place one piece design with moving centerpiece is well done.  You can download it here:  Valentine’s Day keychain


Photo Feb 14, 9 31 44 AM

Read more

Makerbot Thing-O-Matic Silc3r configuration

I searched around for a while but couldn’t find any definitive (and working) MakerBot Thing-O-Matic configurations for my machine with Sailfish Firmware.  I decided to go about digging through and setting up my own.  My initial reason for doing this was I was having a retraction issue using MakerBot Desktop that, due to it’s non user friendly configuration I just couldn’t get ironed out.  I did not have this problem until I updated to MakerBot Desktop 3.5 earlier this week.  Prior to that I never had an issue.

Read more

Expedient Disc Sander

I needed a disc sander to clean up some edges on several wood working projects I was working on.  I didn’t have a bunch of money to spend or more space in my shop for another tool so I decided to fabricate what I needed out of scraps for my Atlas 10″ lathe.  I started by using a backing plate for the lathe I had around.  I drilled several holes through on my drill press about halfway between the edge of the plate and the through hole.  These holes were later used to join the plate to a 9″ round 3/4″ MDF disc I cut out on my bandsaw.  Why 9″ around instead of 10″?  Because standard sandpaper sheets are 9″ wide and doing something larger would require cutting down a larger paper disc or would leave gaps at the edges.

The backing plate was affixed to the MDF disc with some 3/4″ Wood screws and mounted on the lathe.  I sprayed the back of a sheet of 100 grit paper with some 3M spray adhesive let it set and attached it to the cut MDF sanding disc.  A utility knife was used to trim the edges of the paper.  I now had a basic sanding disc but no table/rest.  I found some 6″ wide scrap wood in my scrap bin.  I cut some thin strips of scrap to fit the ways of the lathe glued and tacked it together.  Now in 45 minutes my Atlas lathe is now a decent disc sander.  I plan on adding some dust collection to it as well by blocking off the left opening and making a hole for my shop vac.

Read more

Electrodragon ESP8266 (Wi07C) Module Notes

I recently ordered up a few of those super-cheap ESP8266 wifi modules.  These have an 80211 b/g/n Wifi with WPA/WPA2 support, are super small and have a fairly powerful CPU on board (more powerful than that Arduino I am hooking it up to).  I ordered my modules from Electrodragon and they came super-fast (and even shipped from state-side).  For ~ $25.00 I got 4 pieces shipped to my door.  In hindsight I should have ordered a couple of the modules with all the GPIO pins exposed.  The first order of business is interfacing.  These modules utilize a 3.3V power supply and IOs.  I utilized my $17.00 Arduino Mega with 3.3v selector to be voltage compatible instead of setting up voltage dividers.

There are 5 critical pins needed to get this working:

  • GND – Connect to Arduino GND
  • VCC – Connect to Arduino 3.3V VDD
  • UTXD – Connect to Arduino Mega RX1
  • URXD – Connect to Arduino Mega TX1
  • CH_PD – Connect to Arduino 3.3V VDD

Read more

Thing-O-Matic PLA & Nylon Printing Notes

PLA Setup:

Must adjust the Z Homing offset for PLA to account for the additional Blue Painters Tape affixed to the build platform.

Platform must be more level since the “noodle” hardens almost instantly.  Perhaps a little pre-heating would help it stick/smush better

Nozzle must be clean.  I preheated to the tool head and cleaned it off with some 000 steel wool.  This prevents the PLA from curling in and sticking to the nozzle.

Need a good purge/anchor when starting the print PLA oozes much more than ABS

Taulman 618 Nylon Setup:

Adjust Z Homing offset same as for PLA (Load PLA profile with blue painters tape affixed to the build platform.

Print with ABS setting and adjust bed temp to 65 and Extruder temp to 245

Make sure  filaments dry – otherwise finish will be sub-par – damp filament is indicated by popping and steam during extrusion

A material datasheet can be found here: Nylon 618 Specification

Read more

Engraved Walnut Cantilever Wine Bottle Holder

cantilever1

I made this nice cantilever wine bottle holder out of 3/4″ walnut and engraved it for my friends wedding.  I ripped off a 2 1/2″ piece of black walnut  from a piece of walnut I had purchased from The Woodery in Fitchburg.  This isn’t an advertisement, but I do take notice when someone has  excellent customer service and a fantastic selection of hardwoods, softwoods and exotics.  I could spend all day in there picking out lumber.
Read more

Cheap and Easy DIY Router Table

I found my self in need of a small router table to clean up edges of some small parts.  I have a pretty nice Porter Cable 890 Series router and adjustable base already and wanted to be able to make use of it for these smaller parts.  How hard could it be to build a router table?  I didn’t want to spend upwards of $100 for a piece of junk and it turns out a decent table can be built for far less. I think the total bill of materials came out to be around $20.00 including hardware.  I also wanted something that would take little or no room to store.

Read more