This is just a word of caution for anyone throwing away, donating or otherwise discarding a computer or hard disk. You may think that your data was removed with a format but you are mistaken. There are many free and easy to use forensic recovery tools that can be used to recover your data. Case in point I found a 20 GB hard disk at the dump in the swap shed. I plugged the drive into my garage/utility computer and began examining the drive. The first thing I noted is there was no partition table and several bad sectors (likely the reason for it being discarded). Being it was a parallel ATA drive I assumed that it was a PC based drive and began recovery using a tool called testdisk on in Ubuntu 10.04 LTS (CNC). This tool can recover otherwise deleted partition tables from a variety of systems. I tend to use Linux for tasks like this to reduce the risk of infection from viruses and it can be done with a Live CD if necessary.
To install:
sudo apt-get update
sudo apt-get install testdisk
Next run testdisk – this must run with root/administrator privileges
sudo testdisk
There are many instructions on running testdisk so I won’t go into details here. I simply analyzed the disk with the assumption that it was out of an x86 based PC running some version of windows. Upon running the analysis it reported finding an HPFS/NTFS partition and I was prompted if I wanted to restore this from backup. I did and was promoted to reboot at the end and when I did I could see the 20GB NTFS formatted disk in the file browser on the system. A cursory look through it told me it’s last life served as a backup/recovery disk on on Windows based system.
I also found several ripped American Pie movies on it but nothing else of other interest or identifying. So I decided to dig a little deeper and see what all the 1’s and 0’s hid. There are several different tools to do this on Linux and Windows and I was met with varying degrees of success with several of them. The first one I will mention is called ‘foremost’. This was a tool developed by the US Air Force. It utilizes a configuration file which looks for file headers when doing low-level scans. This needs to be edited and updated to match the file types it can locate in low level scans of the drive.
After enabling universal repositories for the system this can be installed with:
sudo apt-get install foremost
Once installed the /etc/foremost/foremost.conf file can be modified with custom headers per the directions. To recover jepg files run:
sudo foremost -t jpeg -i </dev/sdax> -o <recovery directory>
Then to make the files visible to the user:
sudo chown -R $USER <recovery directory>
This did a pretty good job recovering a bunch of random jpeg files from the drive. Many of them were likely web cache that had been deleted or left behind from when the drive played a more primary role. From the images I ascertained that the hard disk belonged to an adolescent male who had an interest in tattoos and woman’s lingerie (mostly thongs). I had a good laugh but wanted to try a couple other tools out in the process to see which were easier to use and recovered more files. I also tried another open recovery tool called ‘scalpel’. This works in a very similar fashion to foremost and yielded similar results. I believe scalpel is a bit more customizable than foremost and likely a more maintained branch. It can be installed as follows:
sudo apt-get install scalpel
Like foremost there is a configuration stored in /etc/scalpel/scalpel.conf. The comments before the types of files you would like to recover must first be removed. Use your favorite editor to do this. You can also add additional file types in here following the documentation. Once done scalpel is run in a similar fashion to foremost:
sudo scalpel -i </dev/sdax> -o <recovery directory>
The like foremost you have to make the files visible to the user:
sudo chmod -R $USER
These command line tools are nice but it would be much better to find something with a little GUI to make things including browsing and selectively restoring files easier. After some digging around I found DiskDigger. This is an application that runs on Linux (via the mono framework), Windows and now Android that can like foremost and scalpel recover files. It also has a nice gui that allows you to select the file types you want to recover and the ability to skip over bad sectors on the disk. To download simply visit http://www.diskdigger.org/ and download. On linux simply unzip the diskdigger.zip file after download and run DiskDigger as follows:
sudo mono DiskDigger.exe
You should be greeted with a fairly self explanatory window allowing you to select the disk you want to “dig” data out of. Select the disk you want to “dig” and click the Next button. There is a prompt which asks if you want to Dig Deep, which will undelete files from EXT, FAT and NTFS partitions. This is fine if the information is still in the allocation tables if it’s not this won’t help you. The Dig Deeper option does a low-level scan of the disk looking for headers for the file types selected and will allow you to recover them. It also displays them in a GUI thumbnail browser allowing you to individually select which files you would like to restore. This was one of the easiest to use and recovered the most files.
Protecting Yourself
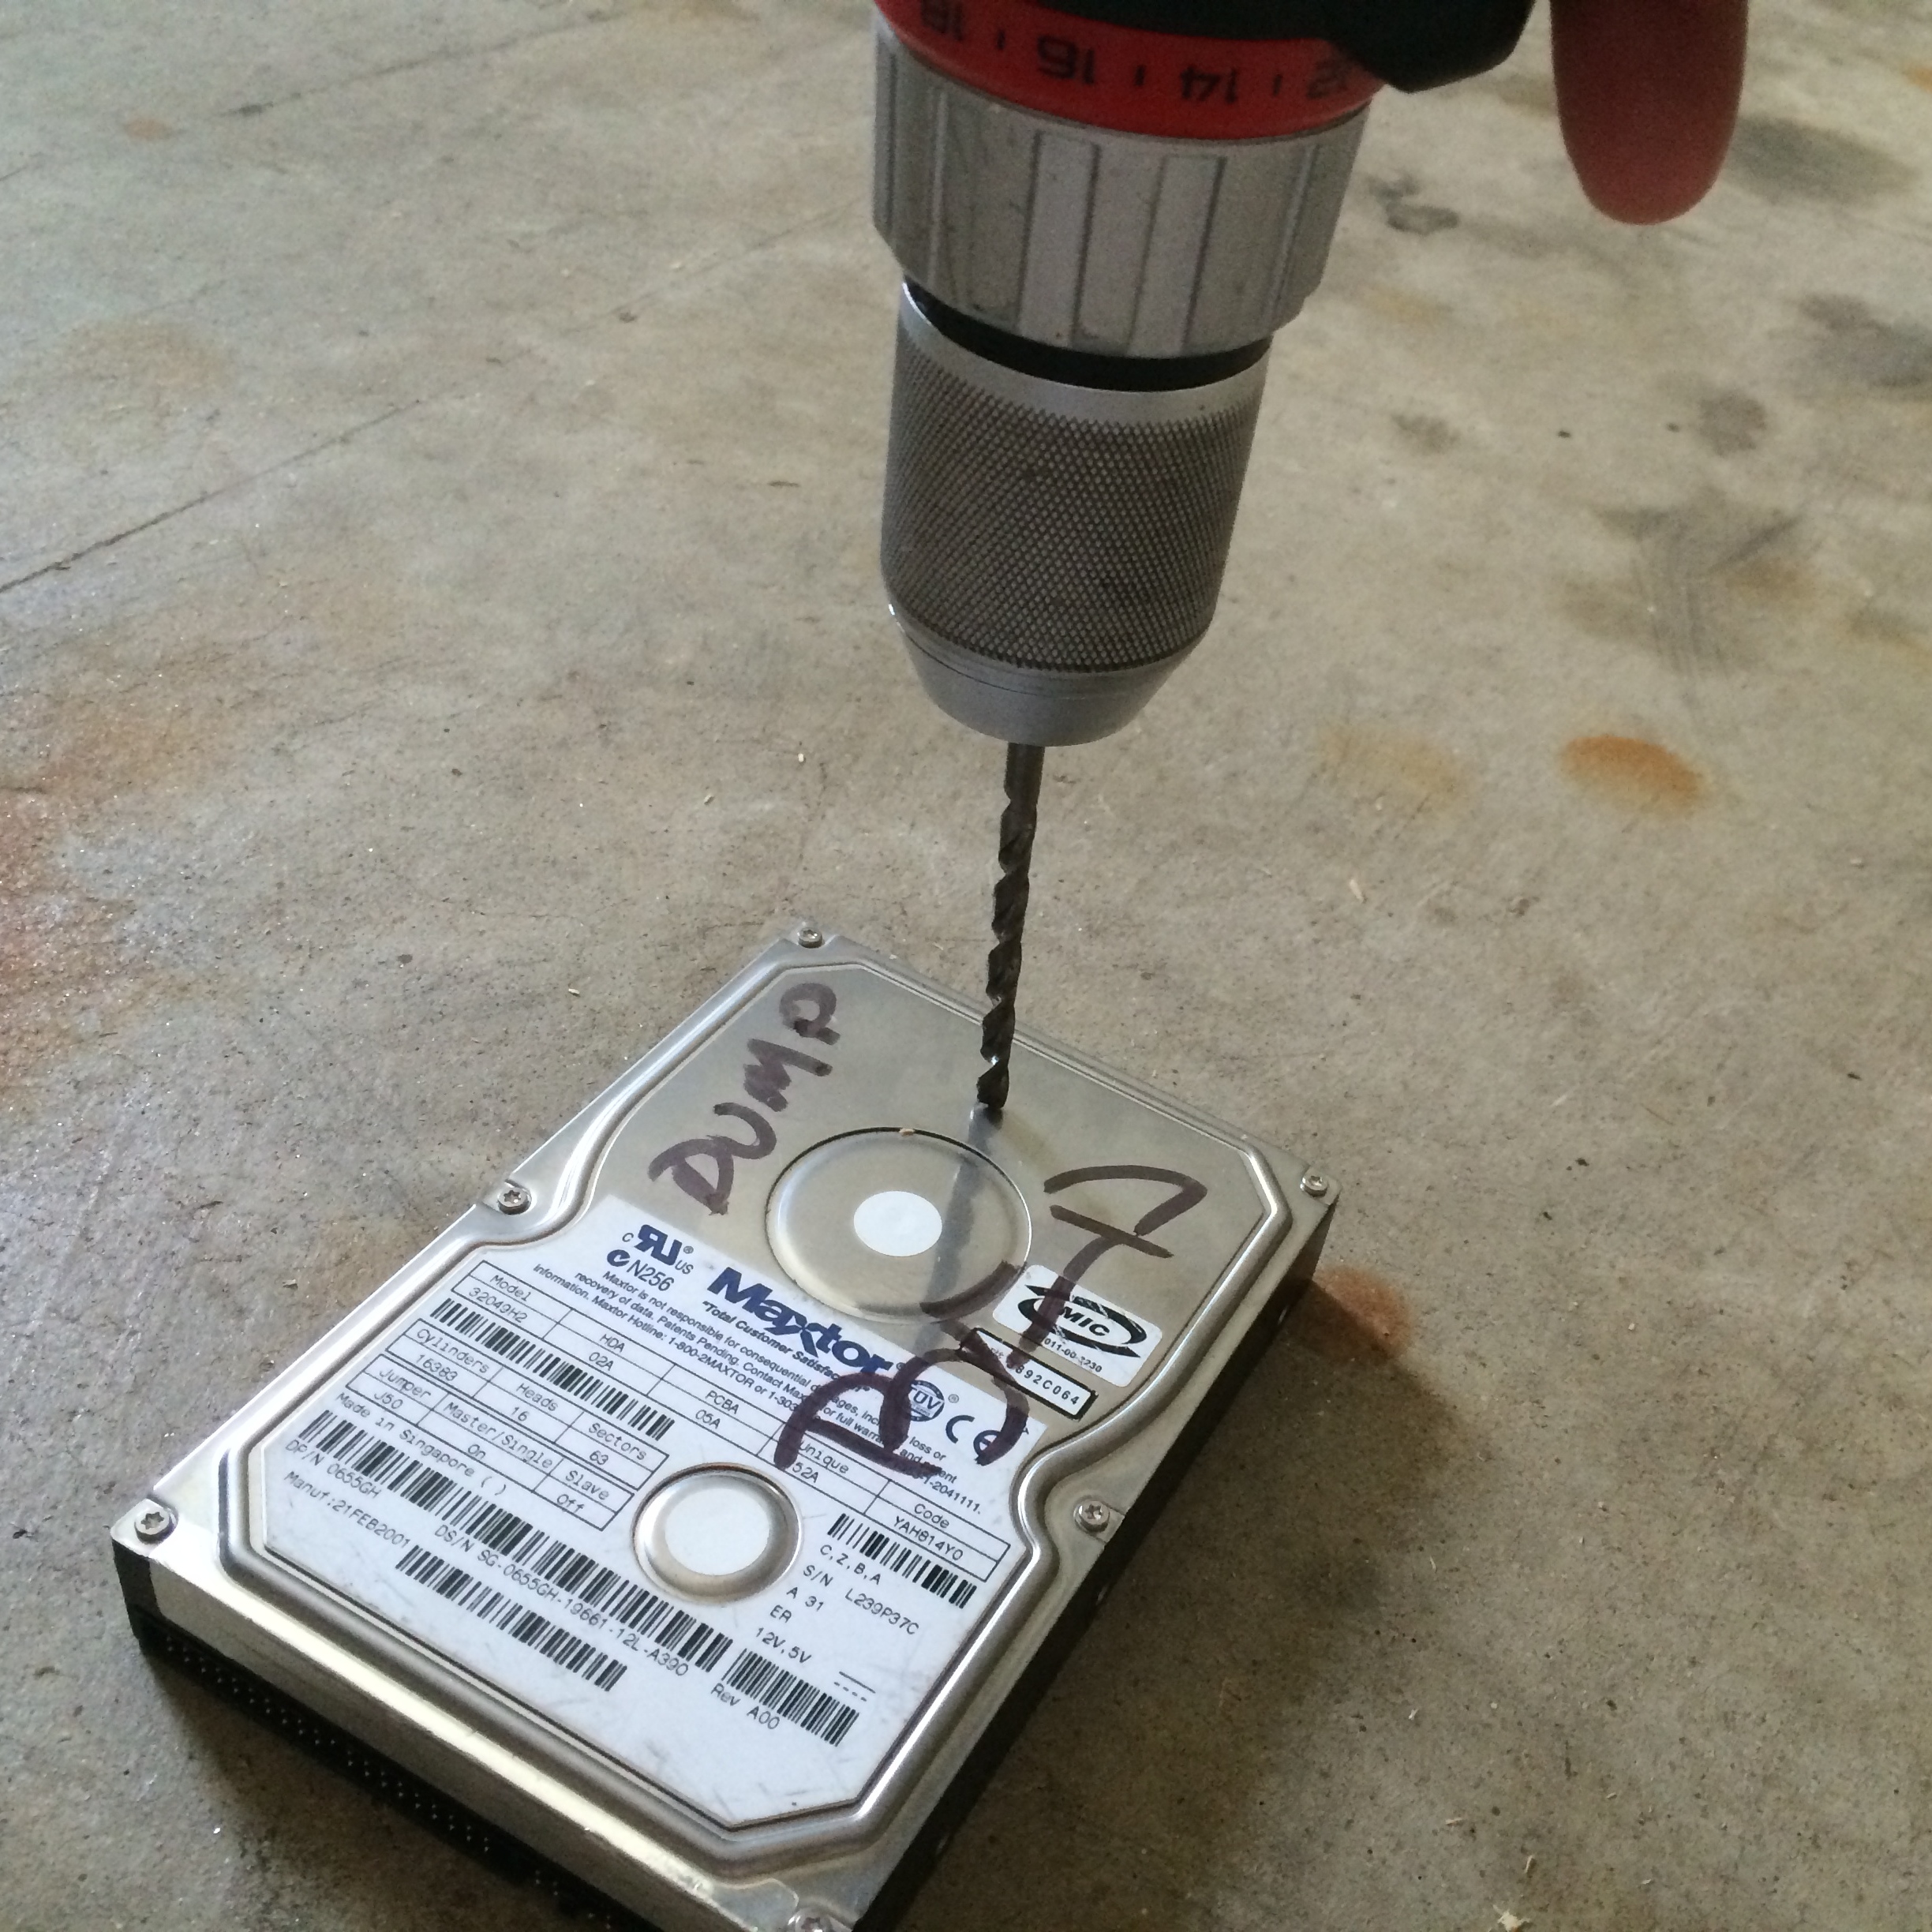
There are several ways one can protect themselves when discarding old computers and hard disks. The best protection is to remove the hard disk from the computer and to physically destroy it. This can be done with several well placed holes to the platter. This will deter anyone but someone with very expensive and sophisticated equipment (versus free software) from recovering any data from the drives. Short of drilling, a punch or nail can also be used to shatter or otherwise leave the platters unreadable to mere mortals.

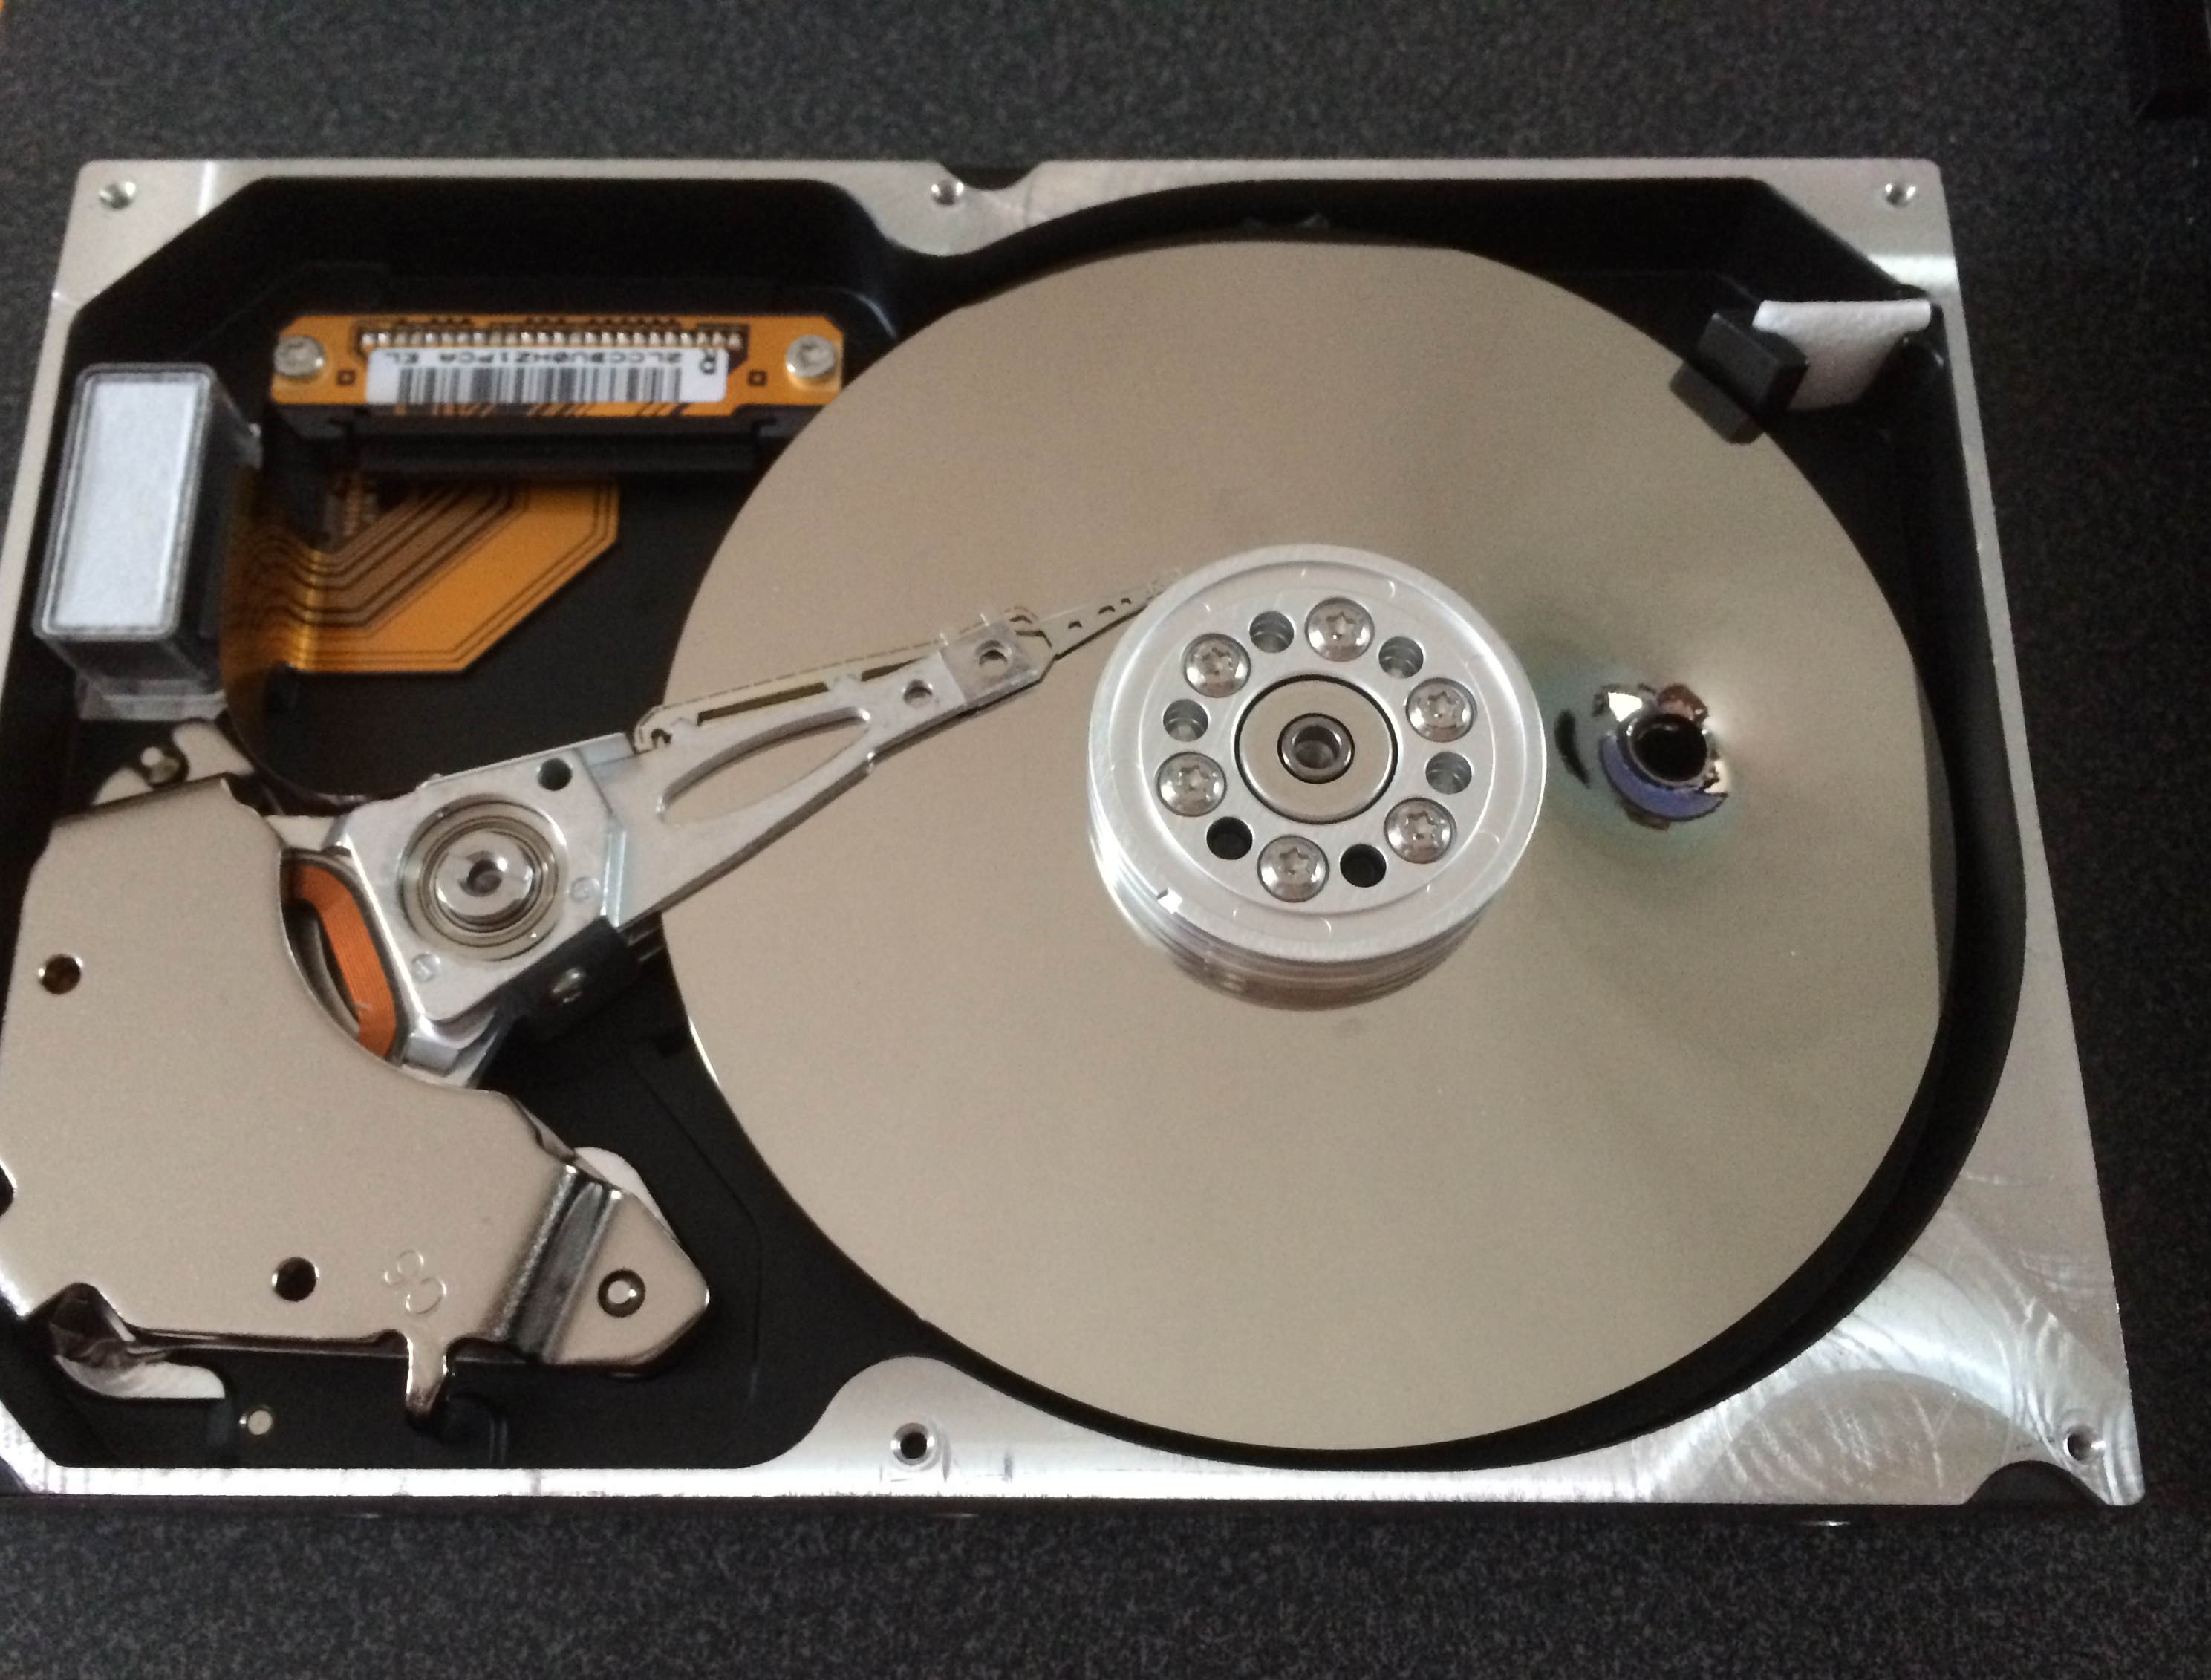
I actually prefer to disassemble my drives versus putting holes in them. A T-08 Torx Driver should do the trick on a majority of drives. I do this because there is around 8 ounces of clean aluminum (around $0.50 worth) as well as precision machine bearings and neodymium magnets which have all kinds of uses around the house due to their high strength versus size. Not to mention that once the platters are removed from the drive it would become near impossible to identify what drive the belong to and how to read data off of them.
The best way to ensure your data is gone is with a multi-pass format or to fill the drive with ones and/or zeros. On the mac you can do tis with disk utility. Open it up, select the disk you want to erase then click on security options. Slide the slider to the enter to do a 3-pass secure erase. This will overwrite the free space three times with empty data and is DOE compliant for a secure erase. After doing this tools like scalpel, foremost and DiskDigger should not be able to find any files. This might be overkill for modern drives and simply doing zeroing out the drive will be sufficient. This can be done quickly and easily in Linux/MacOS by firs un-mounting the drive then issuing the command. Be sure you have identified the correct device before issuing this command – there is no coming back from this:
dd if=/dev/zero of=</dev/sda>
Be safe with your data and alway wipe your drive. You wouldn’t rip out the table of contents from a book and no expect anybody to see what’s inside…yet that’s what a majority of people do when they throw out their computers. Be safe at least zero your drive before throwing it away if it’s still serviceable, otherwise disassemble or punch/drill through it. Just use caution when doing so as some new drives have glass or ceramic platters.