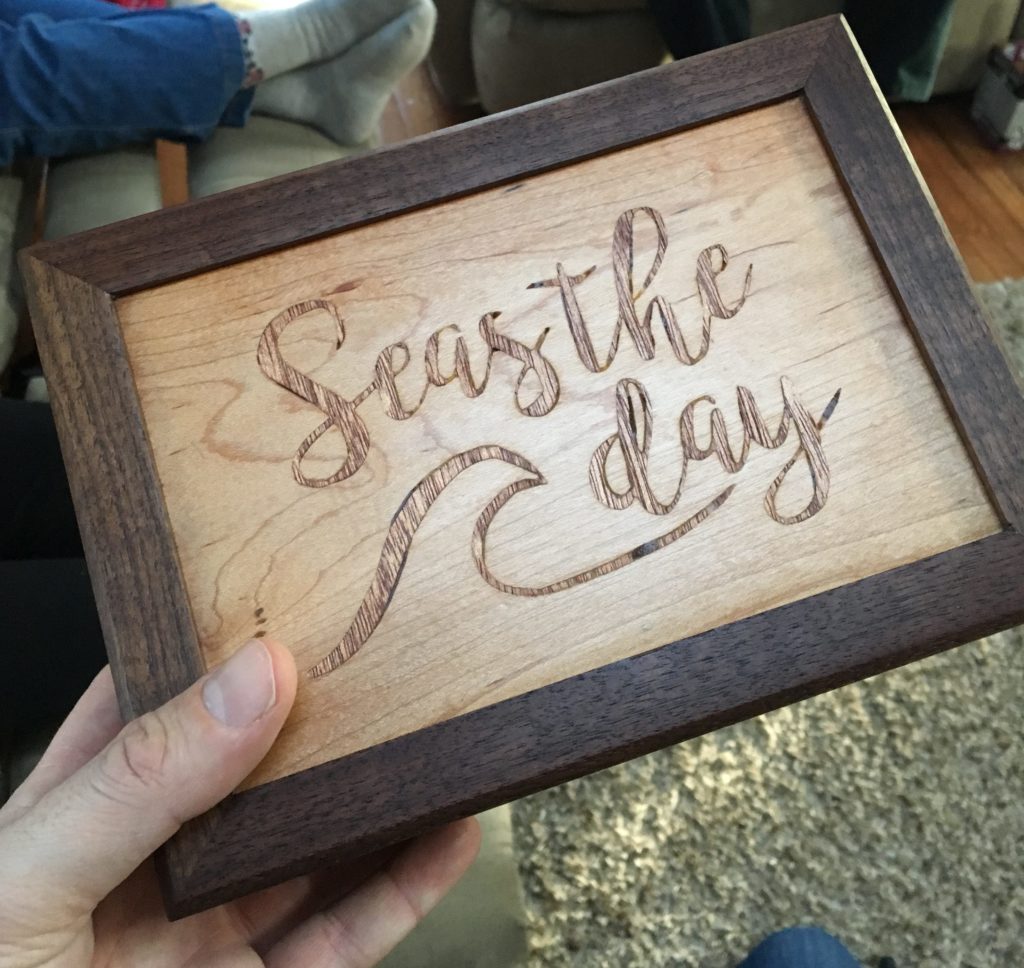
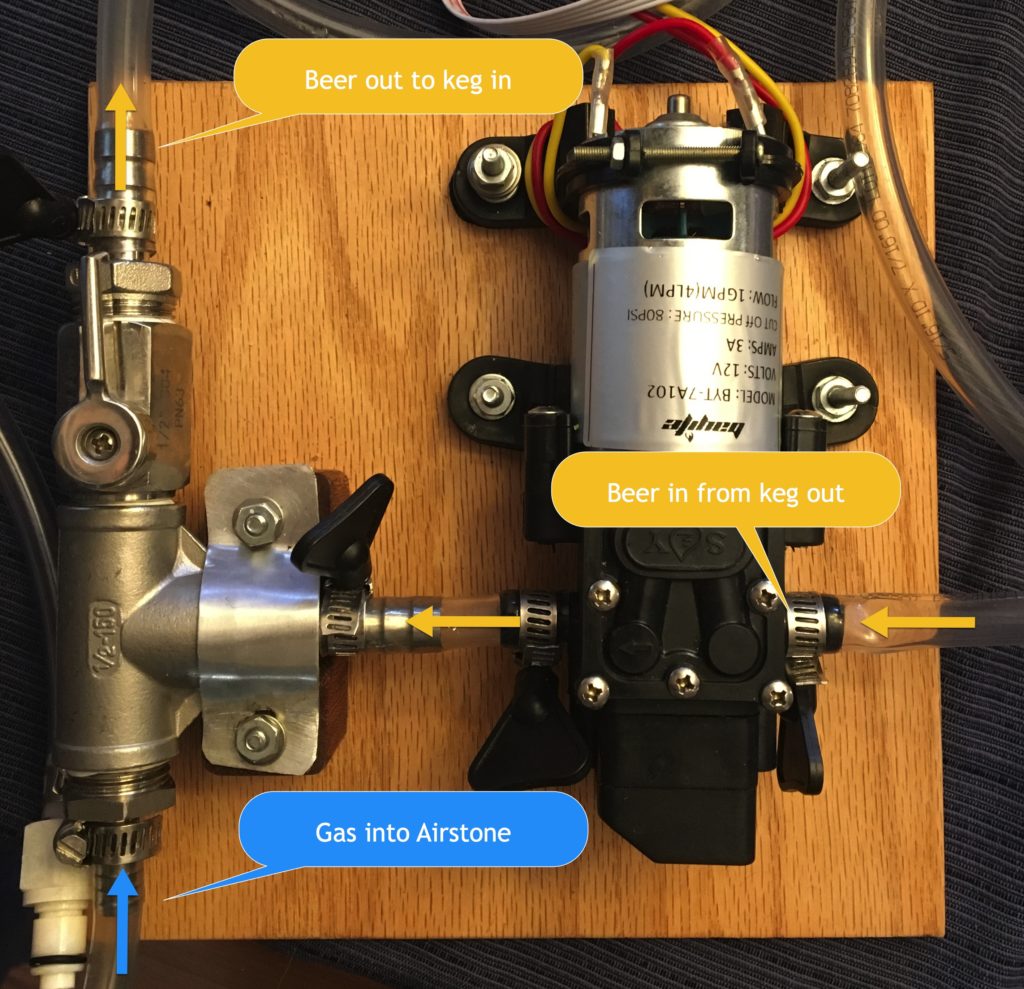
We recently purchased an OMTech 55W Laser for hobby use but did not purchase the external chiller radiator. The one that’s for for sale for around $150-200 price range is simply a “radiator” type cooler with an alarm wire that can be fed back to the laser. To me this seems like a rather ludicrous price for something that cools the tube to room temperature. This being said it was clear that when the laser gets heavy use the 5 Gallon bucket of distilled water (w/ 8 drops of algicide and 8 drops of dish soap) did heat up to over 75 degrees with a few hours of cutting. I wanted to keep the laser operating in the most efficient manner so I built a simple radiator chiller on the cheap using brand-new parts from Amazon for only around $40 and it works like a charm. No hardware was needed beyond what came with the purchase which also yielded a couple extra pipe clamps and some Gates hose:
Author: Mike
Dump/Swap Shed Upcycling Projects
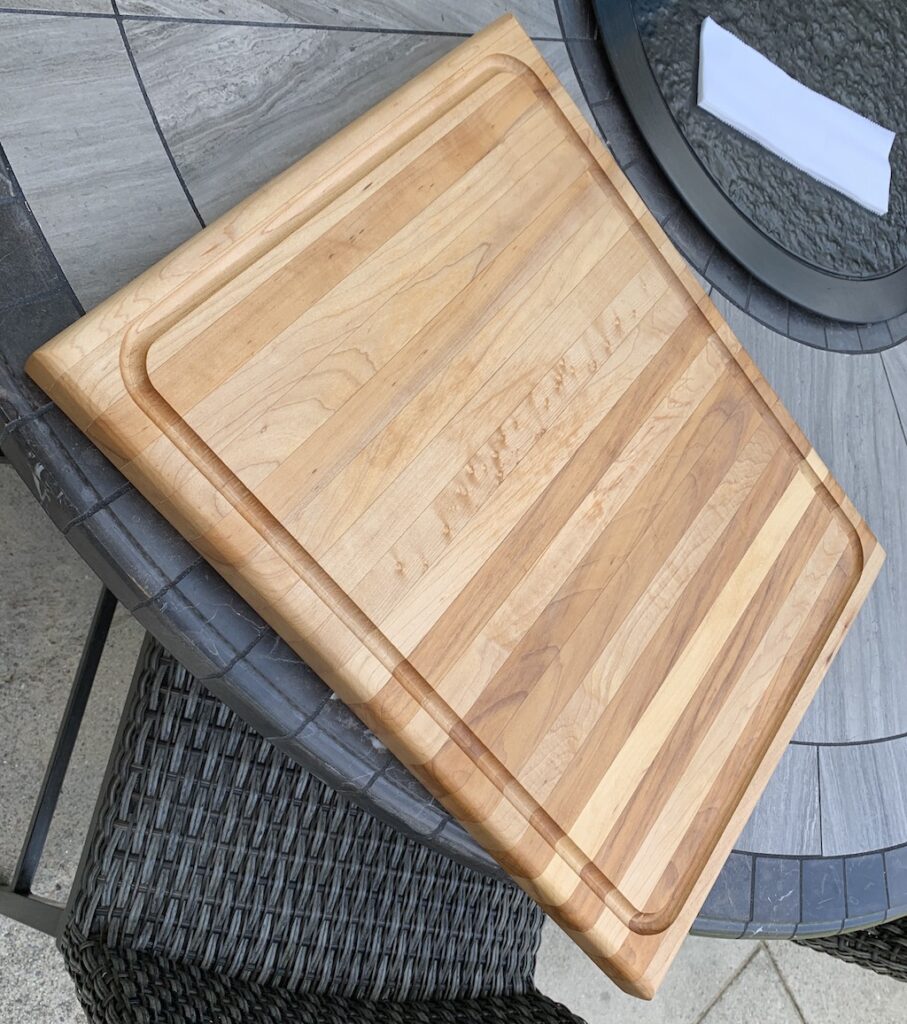
I’ve recently found a couple cool up-cycling projects at the swap shed at the transfer station. Someone discarded a nice maple edge-grain cutting board made by the Maine Department of Correction industries. Prisoners work on various projects that they then sell in their store. The board was pretty cut up and someone tried to clean it up a bit but they failed pretty bad. I was able to re-square and resurface it on my tools. I even added a juice groove. My wife loved this.
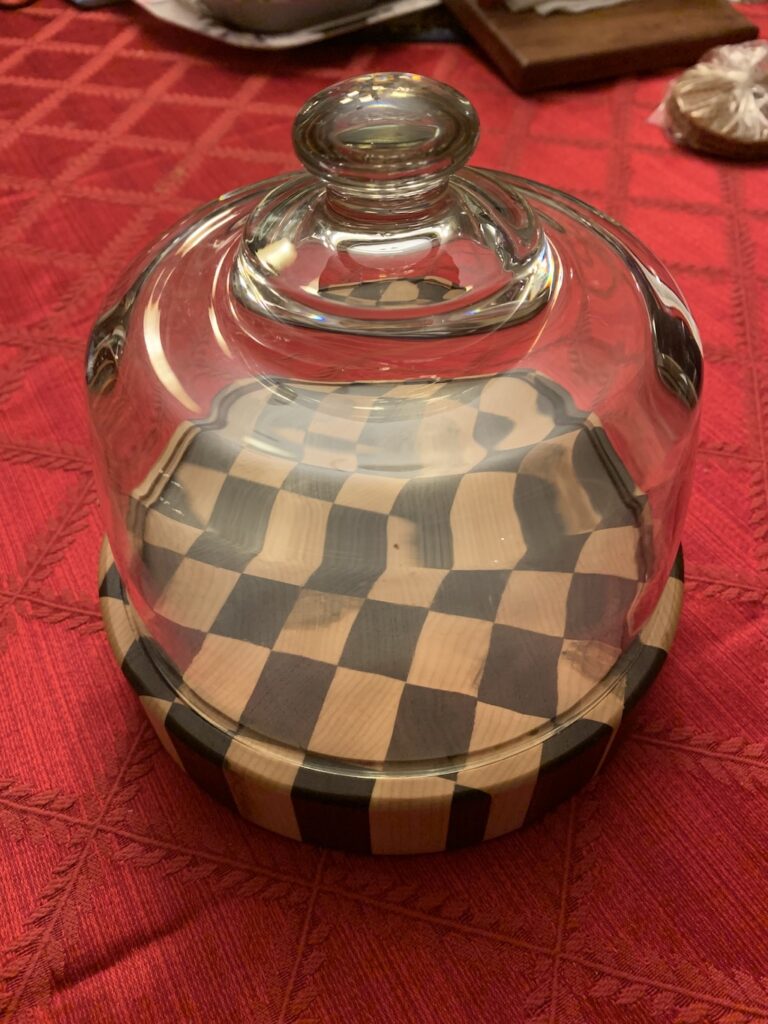
I also found a small cheese platter with a terrible warped base and nice glass dome. Because the board was stained and made of some unknown wood I decided to discard it and start over. I wanted this to be a little special so I decided to do my first end-grain cutting board out of Maple and Walnut in a checkerboard.. I cut it into a circle on my CNC machine and finished it with a beeswax blend. This should give years of service down the road and looks beautiful to boot.
X-carve Clamp, Tool and Bit Holders
These were quickly created in V-carve to hold my bits and tools. I leveraged a bit of the design form past users and created my own.
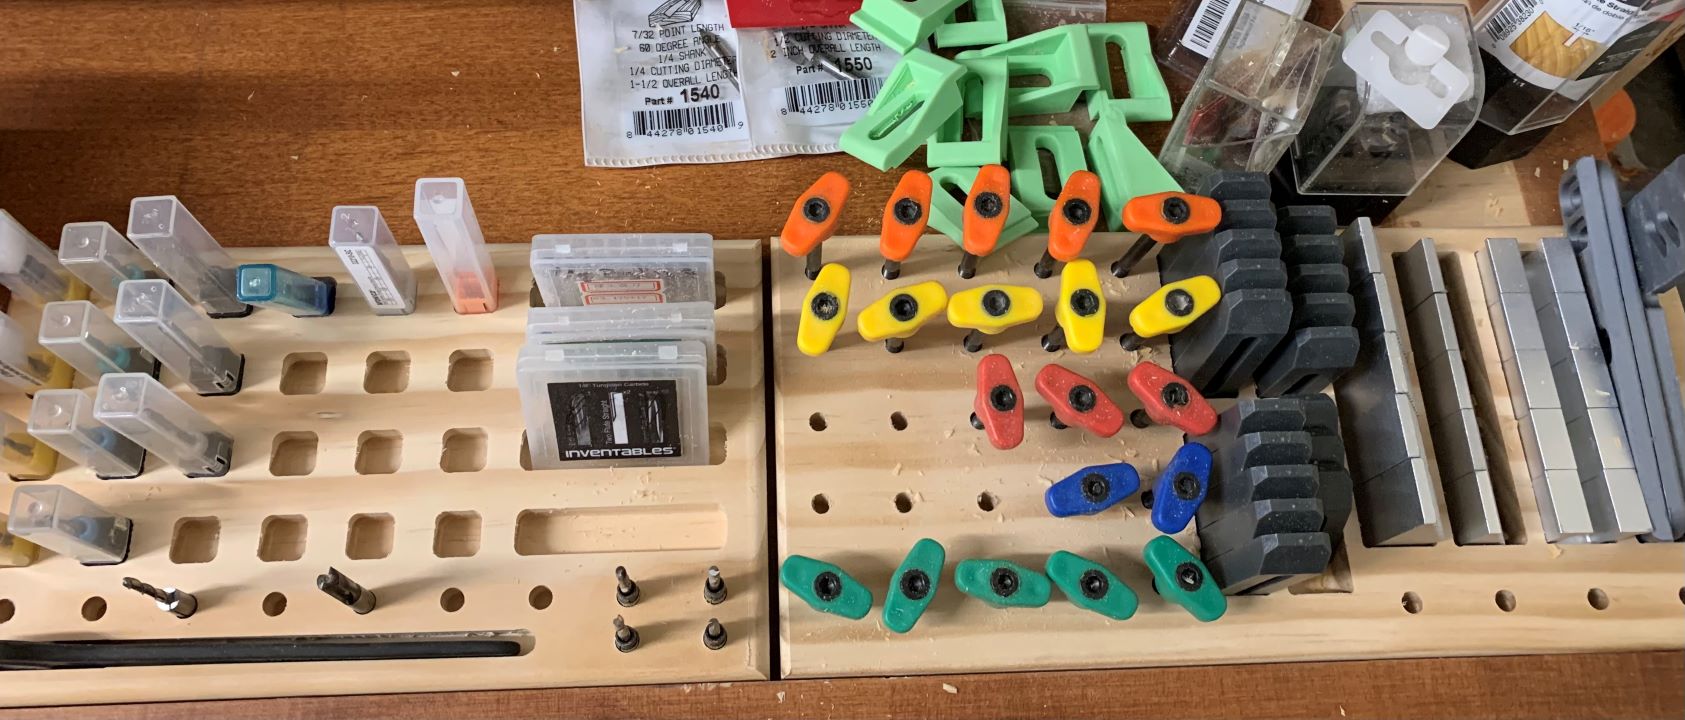
This stores the clamp kit from Inventables in one block and several types of bits in the other block. I love this wrench I ordered on amazon for my DW-611 router since the original was lost.
GEDORE 894 17 Single open ended spanner 17 mm
Download the v-carve files here: BIT AND CLAMP HOLDER
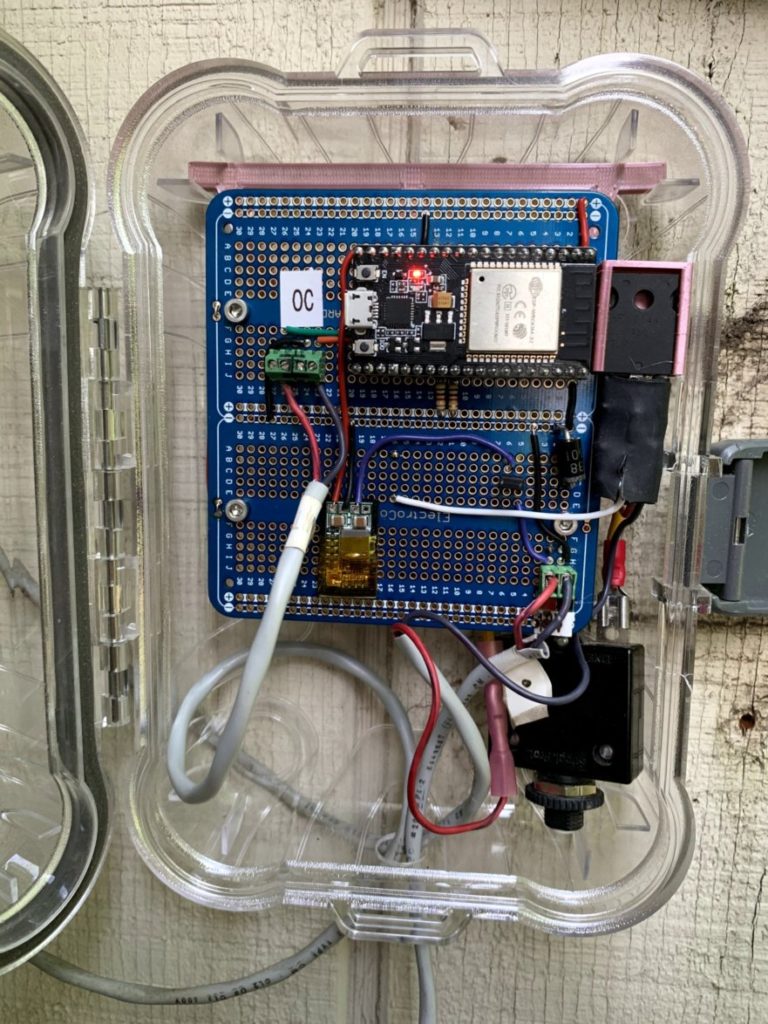
Chicken Coop Controler Redux
After over a decade of service my original coop controller finally died. This was no fault of it’s own the old 12V AGM battery died and when I hooked up the new one I did so with the incorrect polarity. This was rapidly followed but a “pop” and the dreaded magic smoke escaping from it. The flyback diode took the brunt of the damage it followed by the speed controller FET. Because of this I felt it in my best interest, instead of reviving the old board I would start anew with more goodness. The original controller suffered from a few problems:
- It was difficult to tell if the door was actually up or down from the house
- When it got an error (i.e. chicken poop prevented the door from closing) it was hard to reset
- It utilized a CdS sensor I pulled from a smoke detector which wasn’t temperature stable year round
- It was a custom arduino board and the chip needed to be pulled and put in a programmer to update the firmware (whch is lost to time)
Prusa 3D Printing Station/Organizer
I recently purchased the MMU2s for my Prusa i3 and quickly found my desk was an unruly mess. With the filament buffer and multiple spools there was stuff everywhere. I was determined to clean up this mess so I took to my notebook and after a couple quick measurements sketched out a design that would add some additional under-printer storage as well as manage multiple spools and the buffer. This is the end result.
GRBL Postprocessor for Solidworks
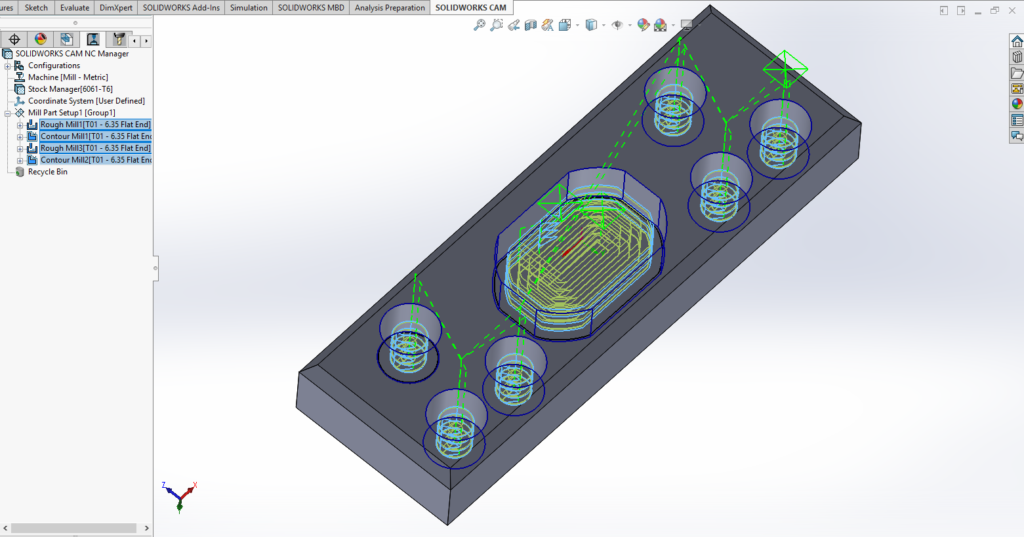
As part of mentoring out High School’s First Robotics Team Andromeda One I have learned Solidworks. Since we have a Jet Mill converted to CNC (running GRBL and a Chinese controller) and several of the other mentors, including myself, having CNC routers like the ShapeOKO 2 and X-carve we wanted to be able to have a one-stop shop for doing our design and CAM toolpath generation. There are some generic postprocessors for Solidworks but none seemed to support exactly the post processing options and syntax I wanted to see. As such I embarked on writing my own post for Solidworks.
I downloaded “Universal Post Generator” from Camworks who provides the CAM functionality for Solidworks. This can be found here: https://camworks.com/universal-post-generator/
When installing it is necessary to install it as Administrator. If you do not it will not install properly/fully and may not work properly. I then used this tool to edit a Postprocessor from scratch and compile it into something Solidworks understand. Note, this was not very straight forward and resulted in several iterations of trial and error until I got it close enough. I’m still getting syntax errors on comment lines. For some reason the line starts with an “*” then the line number and then the tool comment. I cannot determine where this “*” is coming from in the post or how to get rid of it. The second issue is the line numbers, These are very much a personal preference but even if they are disabled in the post configuration they still appear on the output in Solidworks. In the end the postprocessor output needs to be post processed to run on my CNC with a text editor to fix the tool comment lines.
You can download the fruits of my labor here: SW_GRBL_POST.zip
Walnut V-carved Lid hinged box
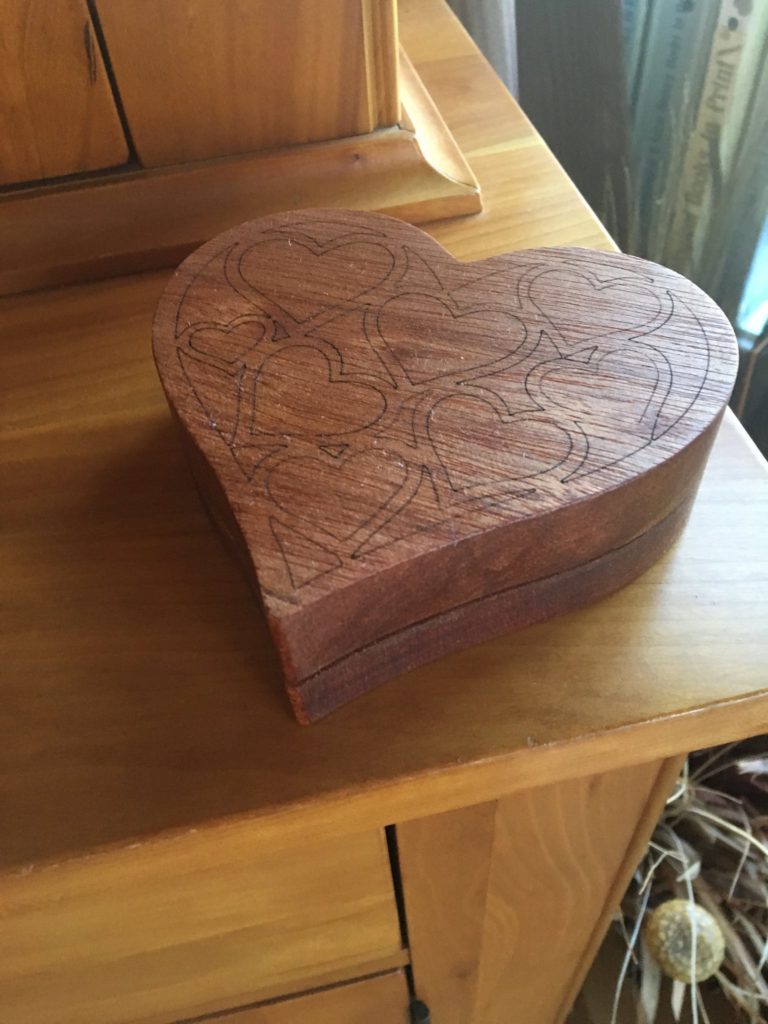
CNC/Laser Heart Box
I created this heart shaped box in November 2017 and never shared it here. This box is laser engraved on my 2.5W Laser in Meranti and CNC’d inside and out. Each side takes about 8 minutes on the CNC with 4 Minutes on the laser. This is version 1.0 of the box and I think I’ll be refining the design and possibly adding more depth to it this year. This whole design was done in Vetric Vcarve including the laser toolpaths. Finish is boiled linseed oil. Box is unlined.
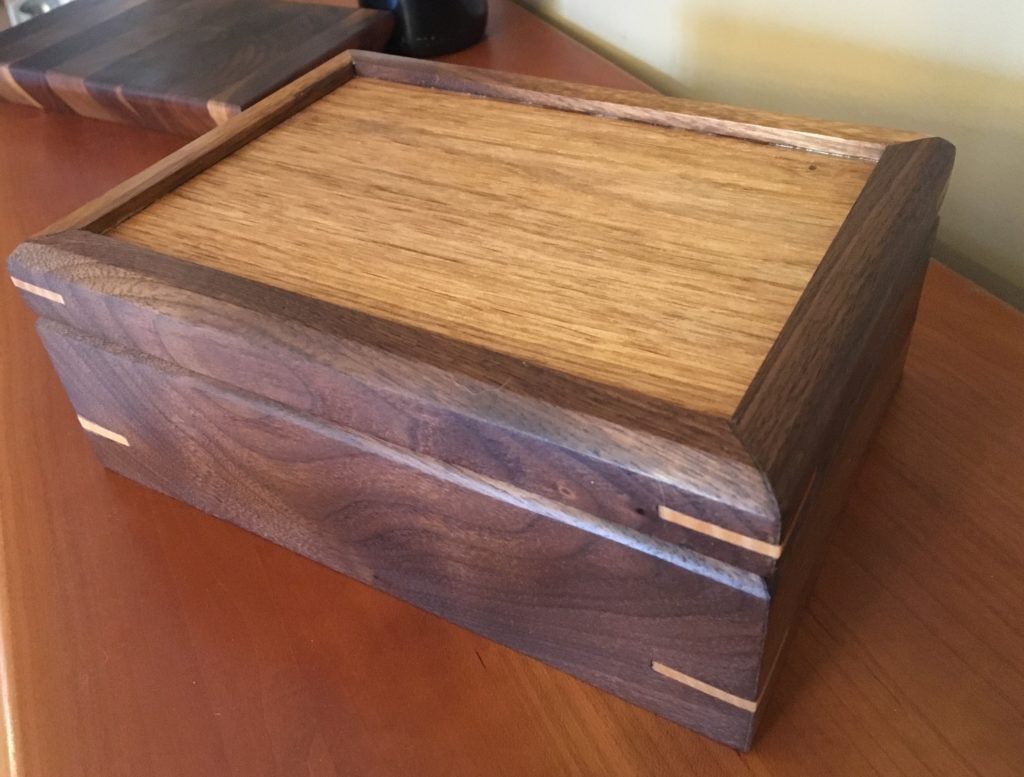
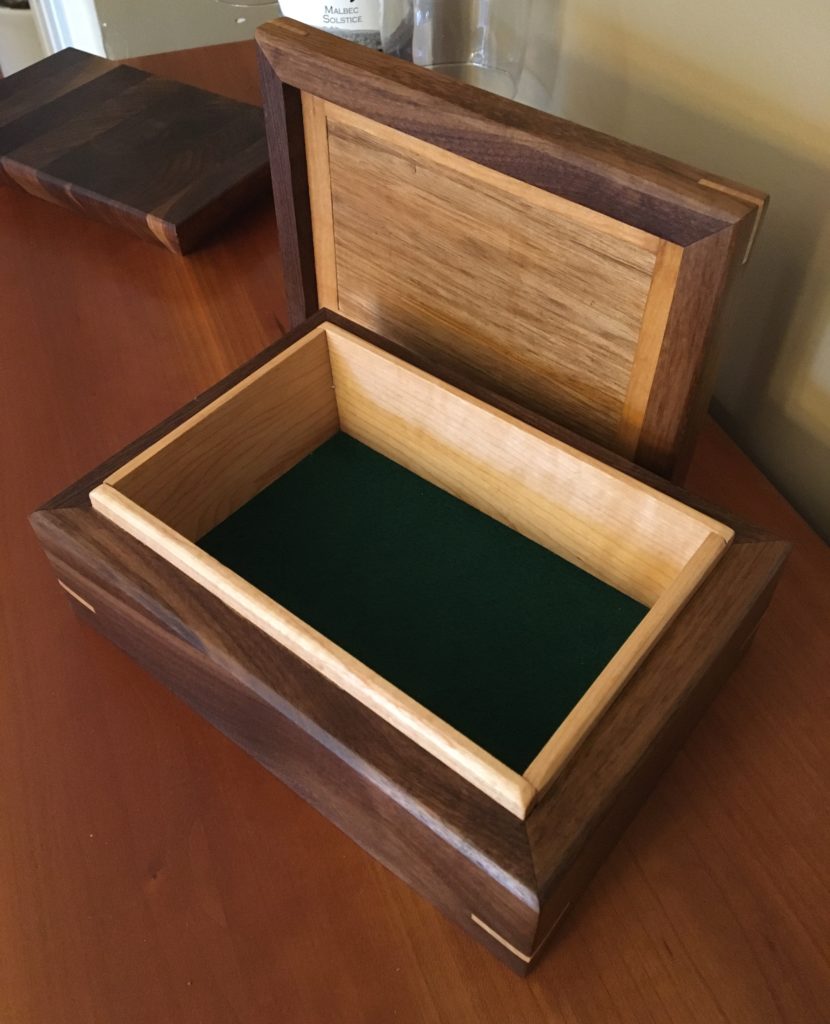
Walnut/Butternut and Maple keepsake box
Just for fun I made this Walnut/Butternut and maple keepsake box. Nice fitting lift-off lid and lined bottom. Hand rubbed finish.
DIY Rapid Carbonator
Parts List
- 2X 1/4″ Swivel Flare Nut x 3/8″ Barb
- 2X 304 Stainless Stell 3/8″ Barb Hose to 1/2″ NPT
- Stainless Steel Tee 1/2″ NPT Female
- Optional: 1/2″ Stainless Steel Mini Ball Valve NPT FxM
- 2 micron Inline Stainless Steel Aeration stone 1/2 NPT with 1/4″ Barb
- 12 V Self Priming Water Pump
- 12V 5A DC Power Supply – 60W Max
- 2X Micro Size 4 band clamps (8 Clamps in total)
- Ball Lock MFL Disconnect Set
- Beer Line Cleaner
- Teflon Tape
- Hoses for gas and soda/beer recirculation
Parts cost me about $110. Blichman’s QuickCarb runs about $180. Mines mounted on a piece of oak plywood and Blichman’s Is mounted on a nice piece of stainless steel. I actually spent about $40 less because I already had some of the parts on hand like swivel flare nuts and and the disconnects and beer line cleaner on-hand The ball valve, optional, is used during the sanitization process. One can simply kink the hose instead. Read more

