
Materials:
Titebond II Wood Glue
Wood – I used walnut, maple and meranti sourced from the Woodery and Home Depot.
Tools:
Fisch 10 mm Brad Point Drill Set or a single Fisch 10mm Brad Point Drill
10″ Miter Saw
10″ Table Saw
Router/Router Table.
Palm Sander
ShapeOko 2 CNC Router w/ Dewalt DW660
3D Printed hinge centering jig
Process:
Using the miter saw I cut the lid and bottom pieces out of Maple and selected a piece for the top. This was mounted on my ShapeOko and v-carved with the artwork. The meranti inlay (a bad choice for inlay material) was mounted on the ShapeOko and v-carved. This was then glued up, clamped and allowed to dry overnight. The excess inlay material was then removed with the pull saw and the box lid sanded smooth.
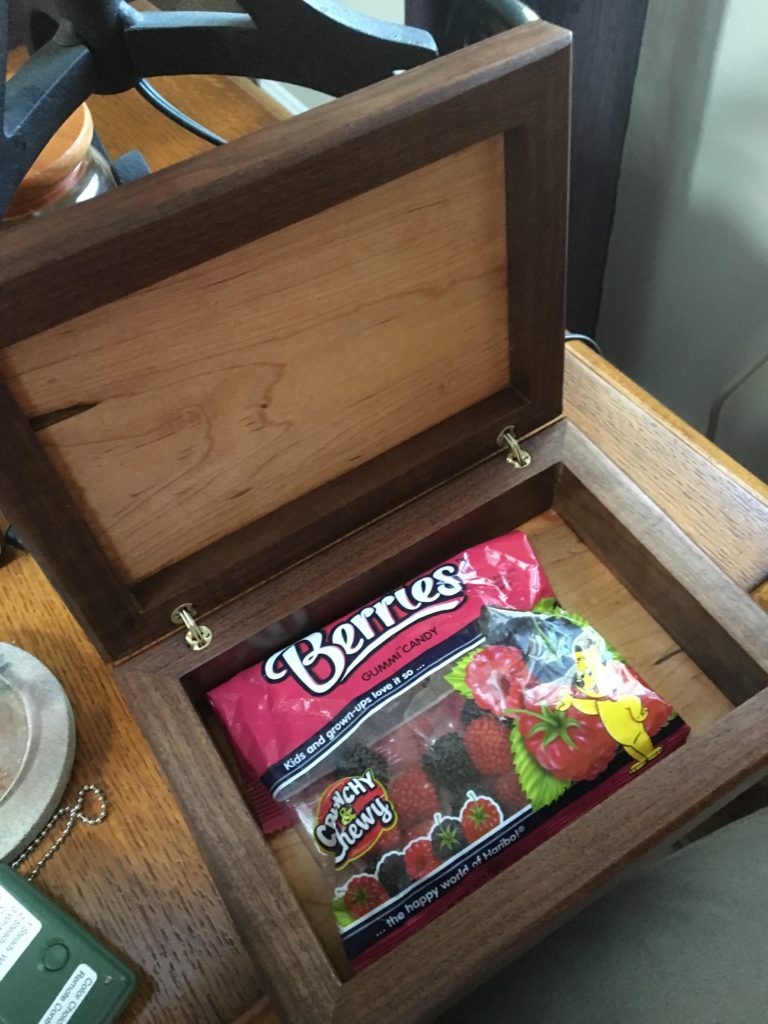
The walnut box sides were then slotted on the table saw with a slot wide enough to accept the lid snugly but not so snug there is no room for expansion. The box sides were then cut on the miter saw with 45-degree miters. All pieces were sanded to finish quality before glue-up. I then glue up the sides with the lid and bottom in-place with a tape-hinge at each corner. The box is checked for square and then clamped with the band clamps and allowed to dry overnight.
The following day I rip the lid off the box on the table or band-saw. and sand the top/bottom edges down. I also like to add a decorative chamfer on the router table. After it’s all sanded and complete I finish it with a hand rubbed blend of equal parts mineral spirits, boiled linseed oil, and satin polyurethane. I’ll usually do 2-4 coats dependent on the materials and desired gloss.
The last step is adding the hinges. I carefully mark the locations of the two hinges on the bottom. For best results they should both be equidistant from the back of the box. After marking I use a 10 mm brad-point fisch drill bit to drill the hinge holes. The 3D printed centring jig (which has a brad nail running through its center) is inserted into each hole. Carefully align the box lid with the base and when it’s satisfactory press it down. The brads will perfectly mark the locations for where the top hinges need to be drilled.
Drill out the top holes that were previously marked with the same bit. Insert the hinges (should be a tight fit) and tighten the set screws slightly. If you used the bits above it doesn’t take much. Repeat for the bottom.