Category: Projects

Chicken Coop Controler Version 2

Chicken Coop Controler Redux


After over a decade of service my original coop controller finally died.  This was no fault of it’s own the old 12V AGM battery died and when I hooked up the new one I did so with the incorrect polarity.  This was rapidly followed but a “pop” and the dreaded magic smoke escaping from it.  The flyback diode took the brunt of the damage it followed by the speed controller FET.  Because of this I felt it in my best interest, instead of reviving the old board I would start anew with more goodness.  The original controller suffered from a few problems:

  • It was difficult to tell if the door was actually up or down from the house
  • When it got an error (i.e. chicken poop prevented the door from closing) it was hard to reset
  • It utilized a CdS sensor I pulled from a smoke detector which wasn’t temperature stable year round
  • It was a custom arduino board and the chip needed to be pulled and put in a programmer to update the firmware (whch is lost to time)
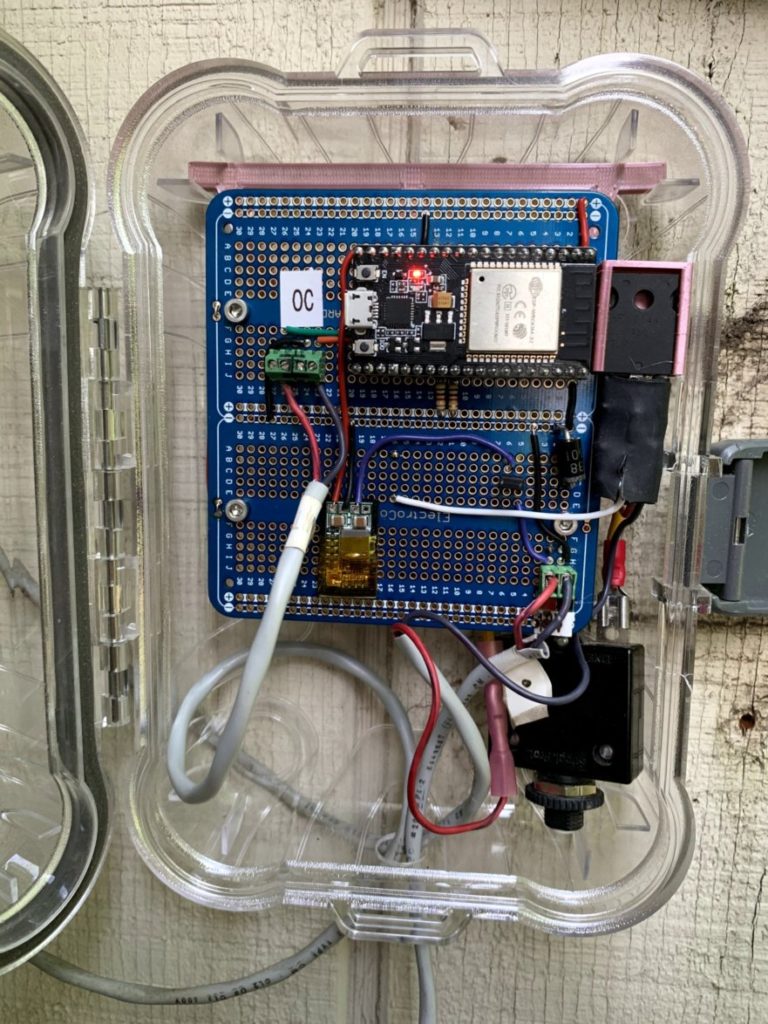
Read more

Prusa 3D Printing Station/Organizer

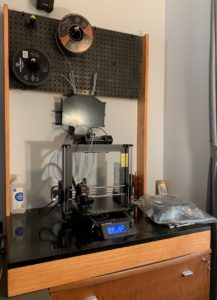
I recently purchased the MMU2s for my Prusa i3 and quickly found my desk was an unruly mess.  With the filament buffer and multiple spools there was stuff everywhere.  I was determined to clean up this mess so I took to my notebook and after a couple quick measurements sketched out a design that would add some additional under-printer storage as well as manage multiple spools and the buffer.  This is the end result.


Read more

GRBL Postprocessor for Solidworks


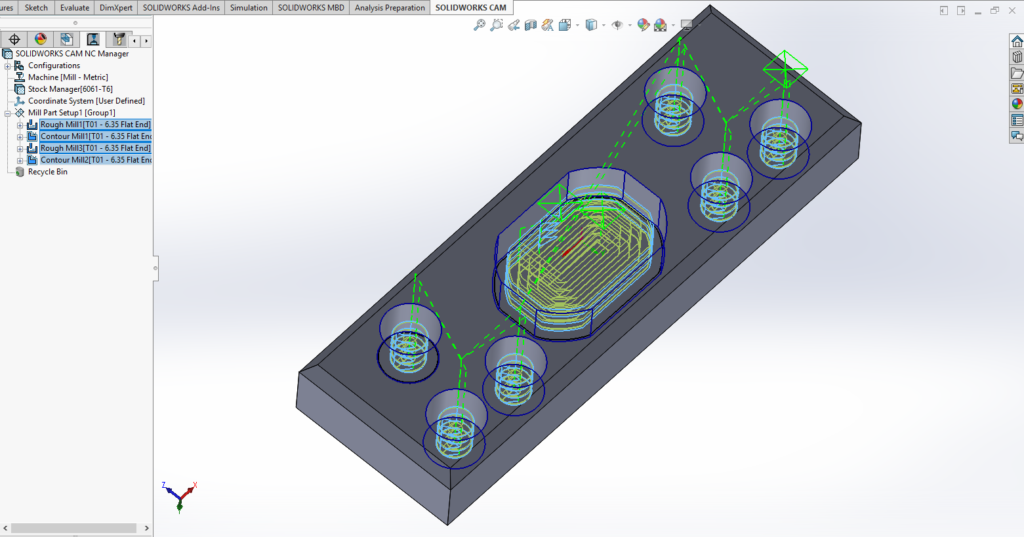
As part of mentoring out High School’s First Robotics Team Andromeda One I have learned Solidworks.  Since we have a Jet Mill converted to CNC (running GRBL and a Chinese controller) and several of the other mentors, including myself, having CNC routers like the ShapeOKO 2 and X-carve we wanted to be able to have a one-stop shop for doing our design and CAM toolpath generation.  There are some generic postprocessors for Solidworks but none seemed to support exactly the post processing options and syntax I wanted to see.  As such I embarked on writing my own post for Solidworks.

I downloaded “Universal Post Generator” from Camworks who provides the CAM functionality for Solidworks.  This can be found here:  https://camworks.com/universal-post-generator/

When installing it is necessary to install it as Administrator.  If you do not it will not install properly/fully and may not work properly.  I then used this tool to edit a Postprocessor from scratch and compile it into something Solidworks understand.  Note, this was not very straight forward and resulted in several iterations of trial and error until I got it close enough.  I’m still getting syntax errors on comment lines.  For some reason the line starts with an “*” then the line number and then the tool comment.  I cannot determine where this “*” is coming from in the post or how to get rid of it.  The second issue is the line numbers,  These are very much a personal preference but even if they are disabled in the post configuration they still appear on the output in Solidworks.  In the end the postprocessor output needs to be post processed to run on my CNC with a text editor to fix the tool comment lines.

You can download the fruits of my labor here: SW_GRBL_POST.zip

Read more

DIY Rapid Carbonator

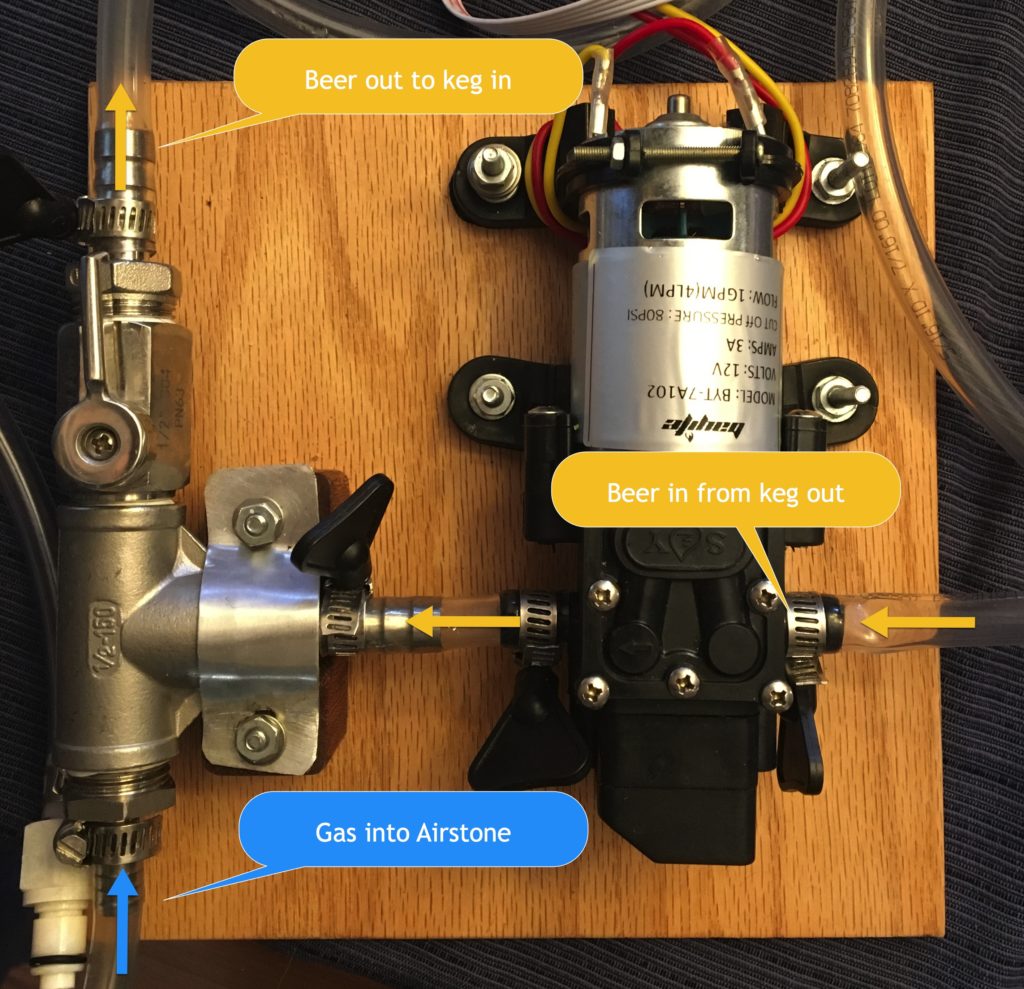
Parts List

Parts cost me about $110.  Blichman’s QuickCarb runs about $180.  Mines mounted on a piece of oak plywood and Blichman’s Is mounted on a nice piece of stainless steel.  I actually spent about $40 less because I already had some of the parts on hand like swivel flare nuts and and the disconnects and beer line cleaner on-hand  The ball valve, optional, is used during the sanitization process.  One can simply kink the hose instead. Read more

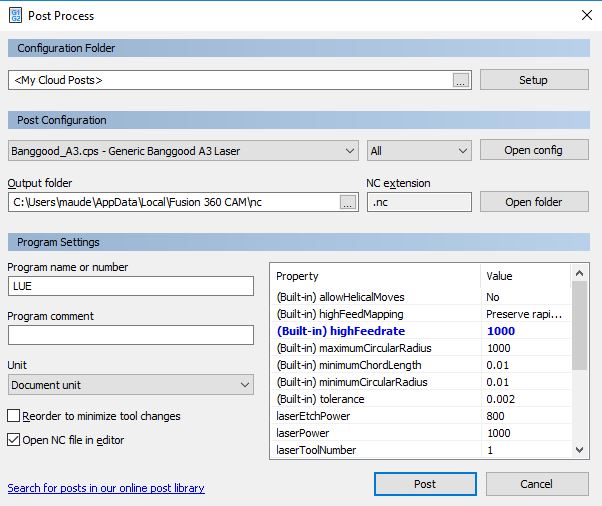
Banggood A3 Laser Post for Fusion 360 Laser CAM

Fusion 360 is an awesome CAD/CAM package from Autodesk.  The licensing is reasonable,  the support is good, the CAD/CAM is top notch and it runs on both macOS and Windows 10.  Recently I acquired a Banggood A3 2.5W Laser Engraver and decided, since I had a good tool chain for cutting on my ShapeOKO I may as well carry that over to my Laser.  I started with GRBL 1.1d (edge) release which was just just came out and built it using the PlatformIO IDE.  I did this on my Mac and uploaded the resultant hex file using Xloader on my PC that’s connected to the laser.  The compiled hex I used for my Atmega328 Nano that was installed on my laser is below.  Please note if you were not running GRBL 0.9 on your laser prior you should remove the nano and set the jumper to 0.9 on the controller board.  Note if you are using a Smoothie board you can just follow along with the tool path and gcode generation portion that follows and use the Smoothie post that is already included.  The GRBL post that’s included does not support the new waterjet/laser features.

Read more

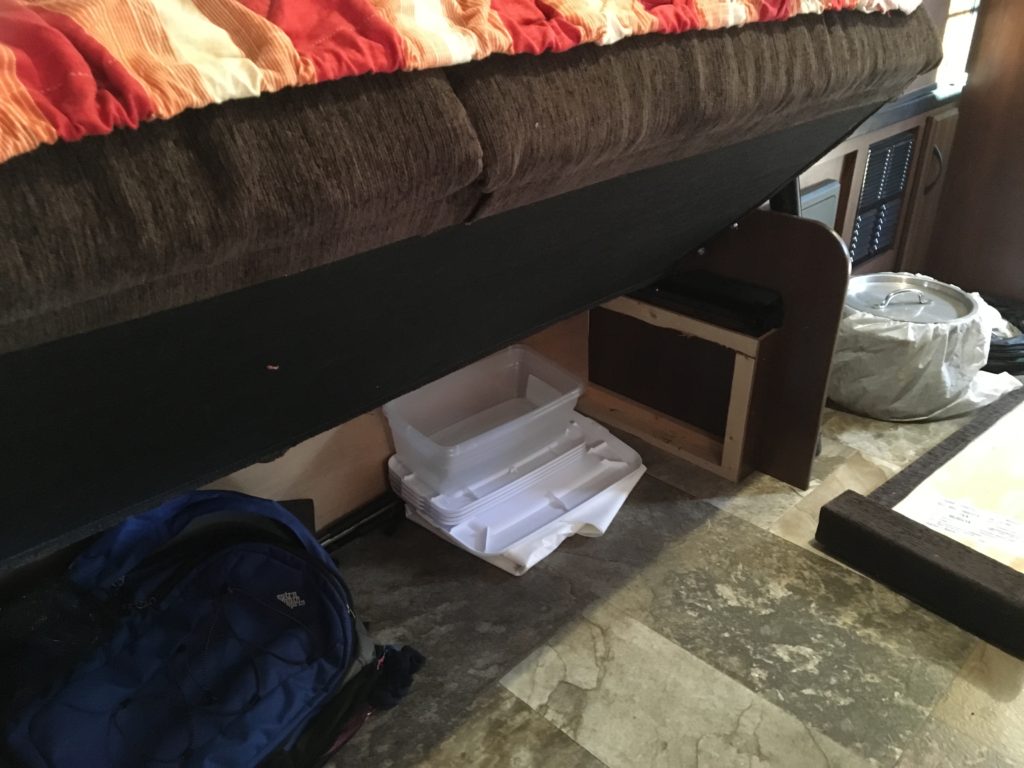
Jayco X213 Under Couch Access Mod

Here’s an easy mod to make some of the storage in your X213 a little easier to access.  This may apply to other models depending on how the Couch/Bed is configured.  On my camper the skirt beneath the couch is purely decorative.  In that I mean it does not structurally support any weight of the sofa.  On my model the skirt was held on with two square drive screws. from the back.  Remove these screws to give access to the ample storage under the sofa.  You might now even be able to fit something under there.

File Jul 27, 6 58 48 PM

Read more

Jayco X213 Solar Installation

A lot of the Sate and National park campgrounds we visit to do not have full-hookups or RV sites.  To counter this I wanted to make our camper a little more capable of boondocking  or dry camping.  The first upgrade that one can do is install some solar panels to keep the lights on, heater running and the water pumping. So I set out and did some research as to what others had done and how they had done it.  I settled on a Renogy 200W Monocrystalline Solar system to start with and can upgrade it trivially up to 400W with the addition of two more solar panels – which should still fit on my roof when done.

Read more

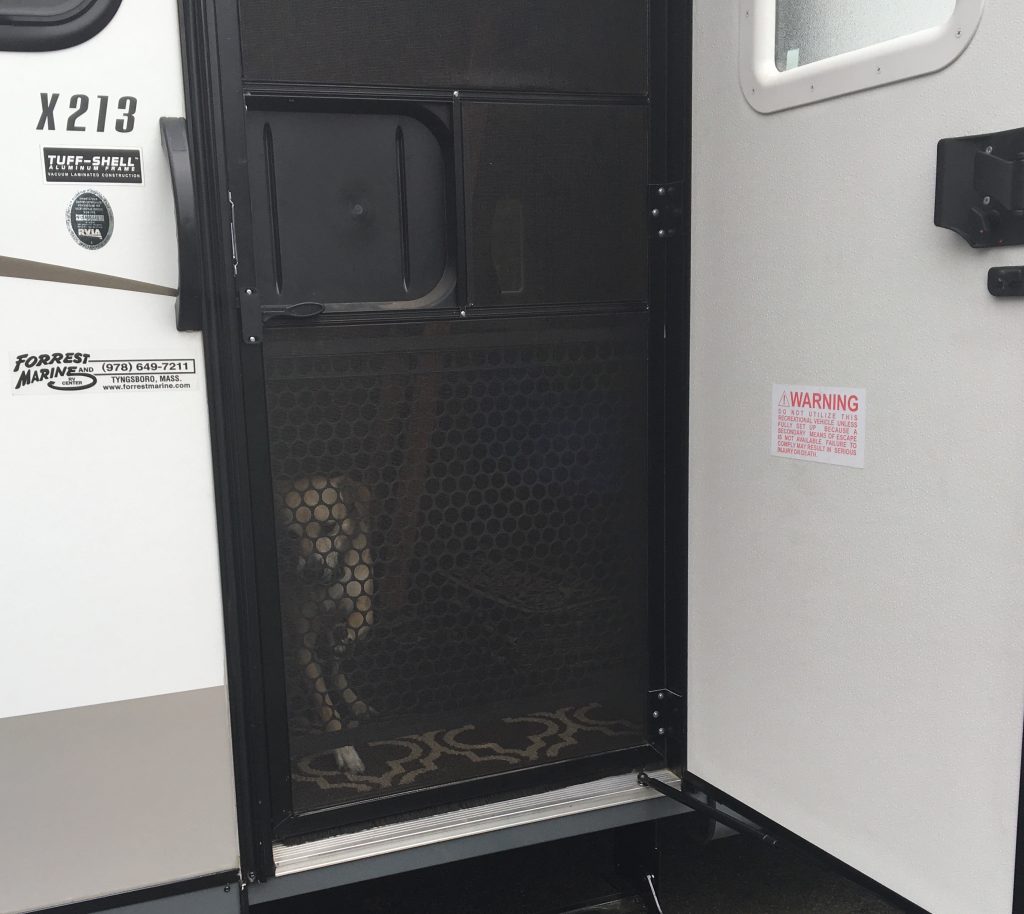
Jayco X213 Pet Screen

Having a dog often results in a torn screen on the screen door of our camper.  So we looked around for different solutions to prevent this.  We wanted something that looked good and still allowed airflow.  We considered a sheet of Lexan, but this prevents airflow.  After searching around we found several companies selling screens that can screw on the door to protect them like this Camco Screen Door Grille or this slightly less expensive Camco Aluminum Screen Door Grille.  These solutions were expensive ($30-60) and really don’t look that great.  We also considered taking a $10 piece of metal expanded sheet and making a frame for that to screw or mount onto the door.  On our way to Home Depot to pick up the materials, we stopped at our local transfer station and found a damaged Safety 1st Bamboo Gate.  It had a nice bamboo frame and a light plastic grate.   It also happened to be the perfect size to fit on the door.

Read more

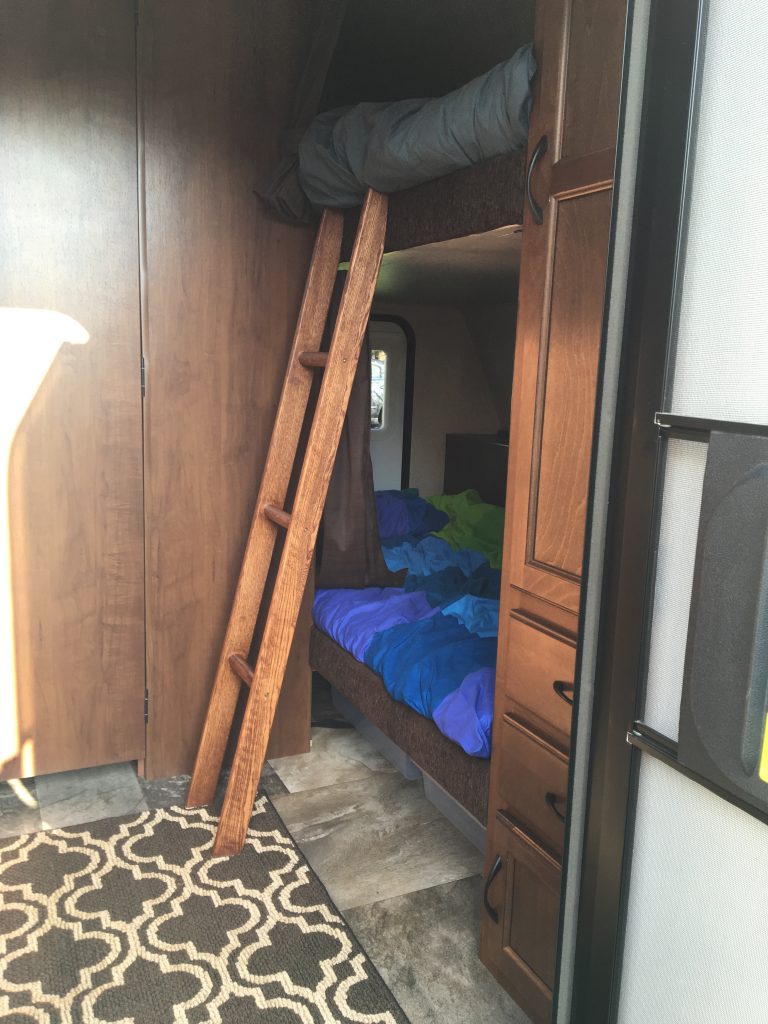
Jayco X213 Bunk Ladder

I recently purchased a 2015 Jayco Jayfeather X213 Camper.  This trailer has the prefect sleeping configuration for our family with a King Size slide-out and 2 Bunks.  This allows us to setup and not have to break-down the table or convert a sofa for sleeping quarters for our two children every night.  The two bunks are nice but getting into them without assistance can be difficult for a child and downright impossible for an adult.  To remedy this situation I looked into several commercially available ladder solutions such as the following:

Stromberg Carlson (LA-460-B) Black 60″ Bunk Ladder

But at nearly $60.00 and made of ugly metal that didn’t match the interior of the camper I passed.  In addition this ladder was wider than it needed to be and needed to be fastened into one location.  I found several other options while searching the internet but none fit the bill so I sketched out what I wanted on paper and came up with the following requirements: Read more