I recently upgraded my build surface from Kapton tape on Aluminium to BuildTak. I was a little concerned about this because like everything else there are rumors that ABS won’t come off. But I figured for the price for 3 sheets for my little Thing-O-Matic it was worth a shot so I didn’t have to deal with blue painters tape if I wanted to switch to PLA. I found my BuildTak on Amazon for around $8.00 (3 sheets). I peeled off my old Kapton tape and cleaned off the print bed. I will say this is way easier to install than Kapton since it’s a small area and the tape forms nice bubbles under it when it adheres to the platform. I used the edge of a credit card to ensure good adhesion to the platform.
One thing I noted in the instructions was regarding temperatures. Notably that the you should not exceed 70 degrees Celsius. I was somewhat worried about this since I normally run my platform at 120 degrees for ABS. This fear however was unfounded. Lowering the temperature to 70 degrees I still had better than fantastic adhesion with ABS. I had done a couple prints with the new surface and found the best way to remove the prints was to let the bed cool back to room temperature and then get the edge of my Morakniv blade under the edge and pop it off. For the record this is the best knife I have found for $15. Razor sharp with a solid carbon steel blade with a full tang. This thing is durable and is now one of my go-to tools. They also make a carpentry chisel blade that would probably be even more versatile for the hobbies I have including removing prints from the BuildTak.
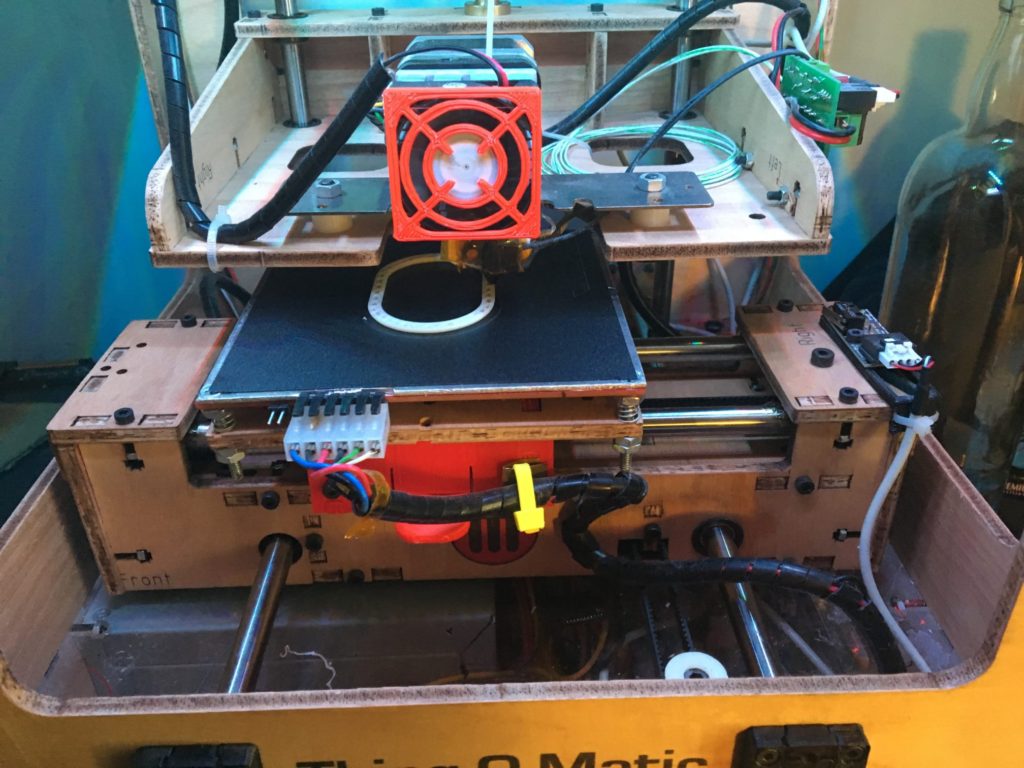
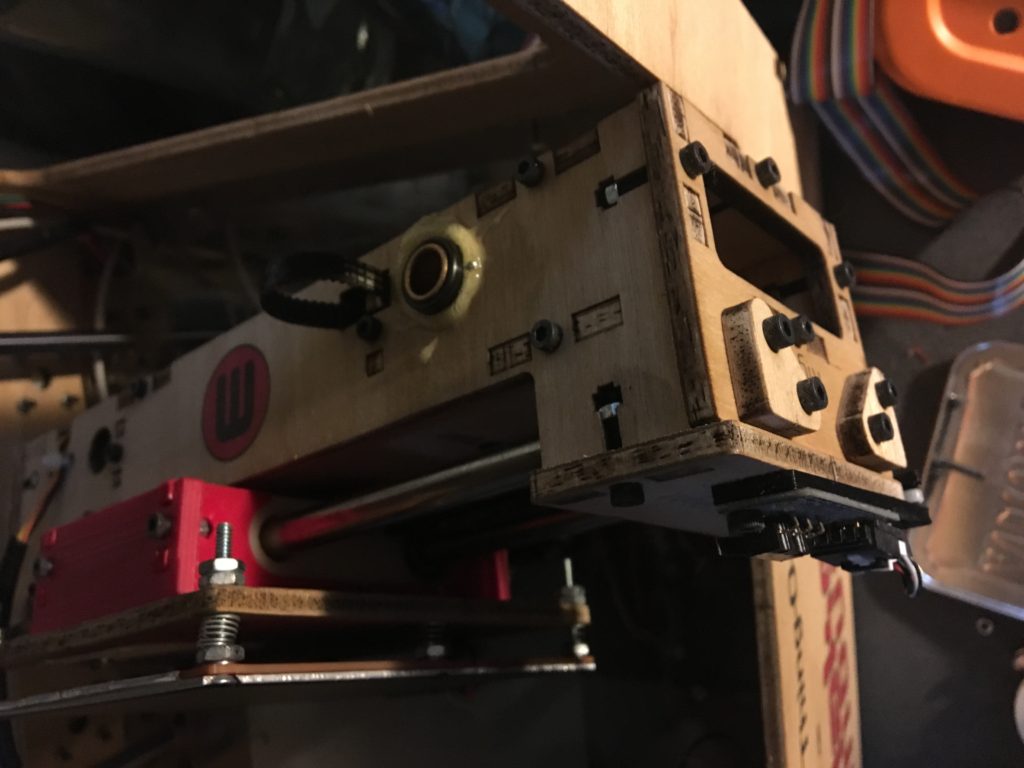
After several dozen prints on my new surface my Thing-O-Matic tore itself apart. The brass bushings on the y-axis pulled out mid print and the carriage started flopping around. I removed the y guide rods and flipped the carriage over and pressed the bushing back in from the inside. For the record these bushings are not designed for linear motion applications like this and were a cost tradeoff when the MakerBot came out six years ago. After the bearings were pressed back in I applied a little Gorilla Glue to the bushing to hold it in place. This is a moisture cure expanding glue – so keep that in mind if you use it. After application I wet a paper towel and put it over where I applied the adhesive. I let it cure for a couple hours then put the printer back together. It has held up well so far.
After the machine was put back together I download the Latest Cura (version 2.3.0) and created a new profile for my printer using the RepRap/Marlin profile. I run sailfish on my machine and have been very happy with the results. The start/end code were modified form the originals with the ones from my original Cura setup. This can be found here: Cura Thing-O-Matic Profile. I’ll update this page when I do some testing with Nylon on the BuildTak.
