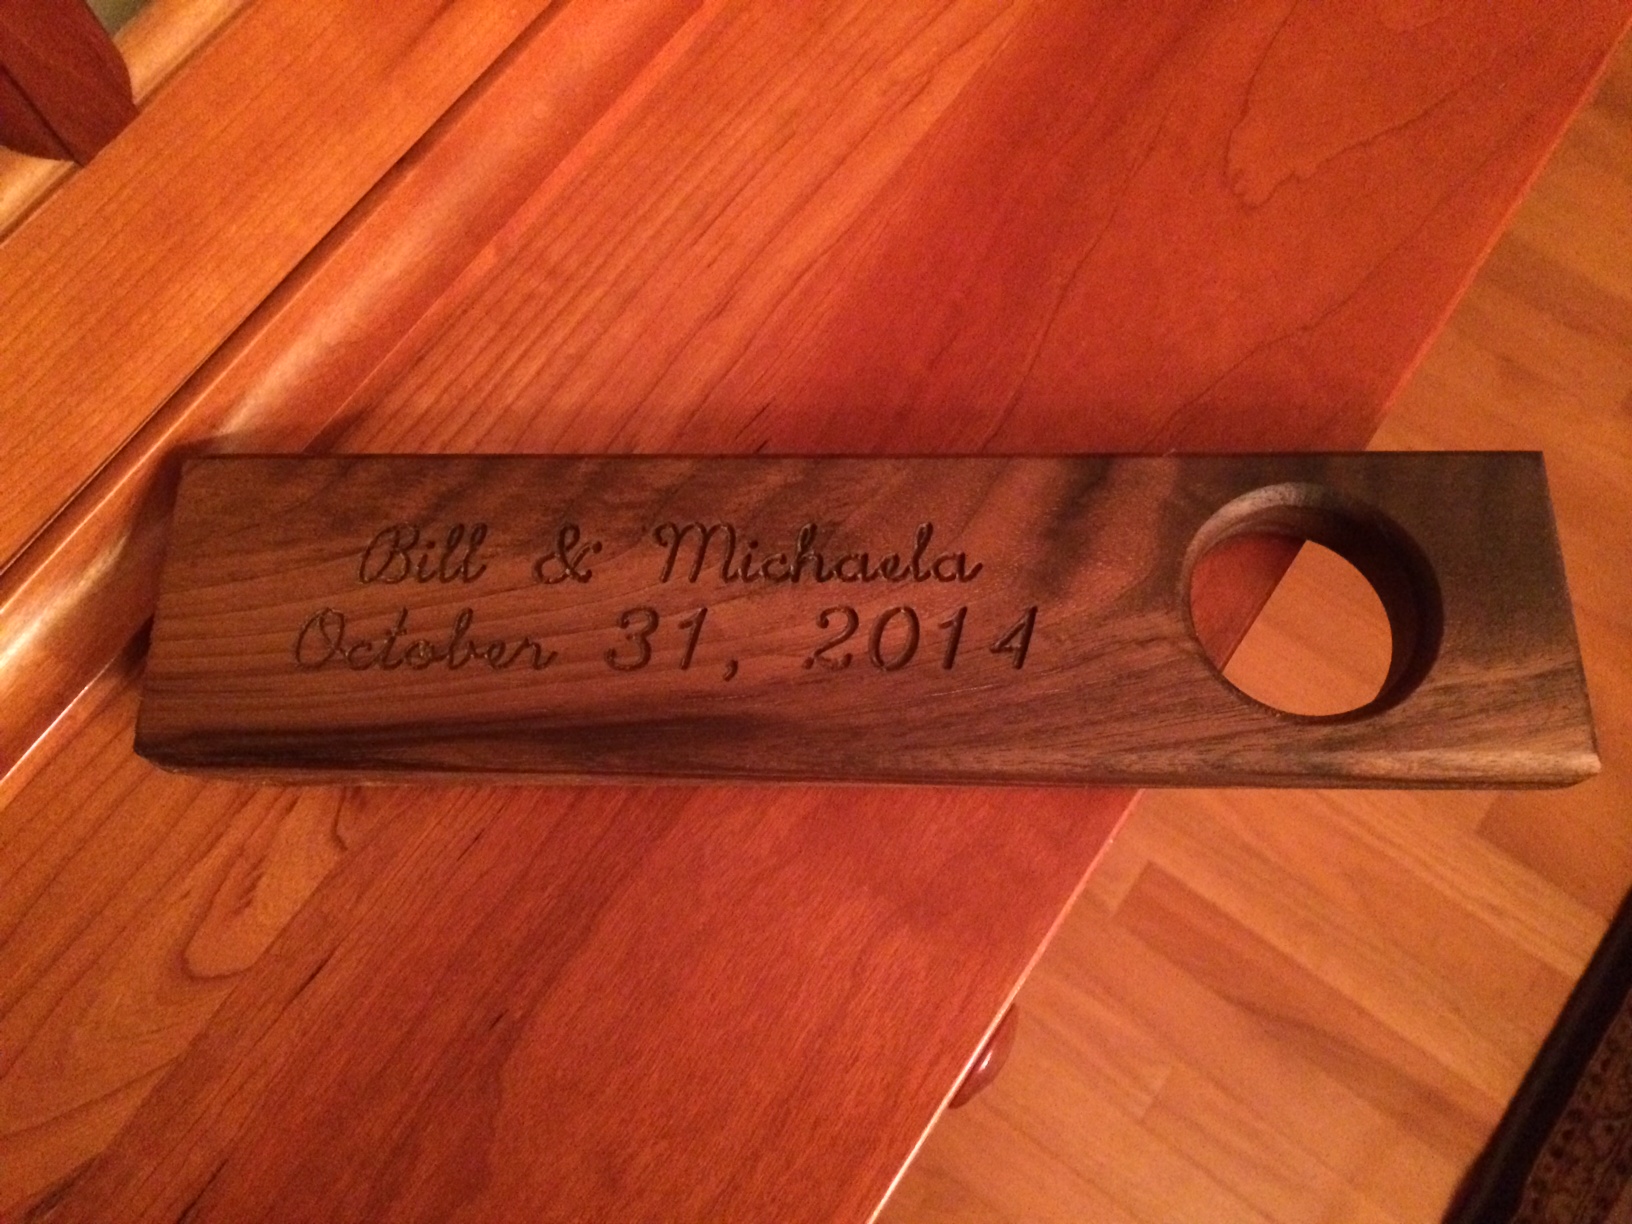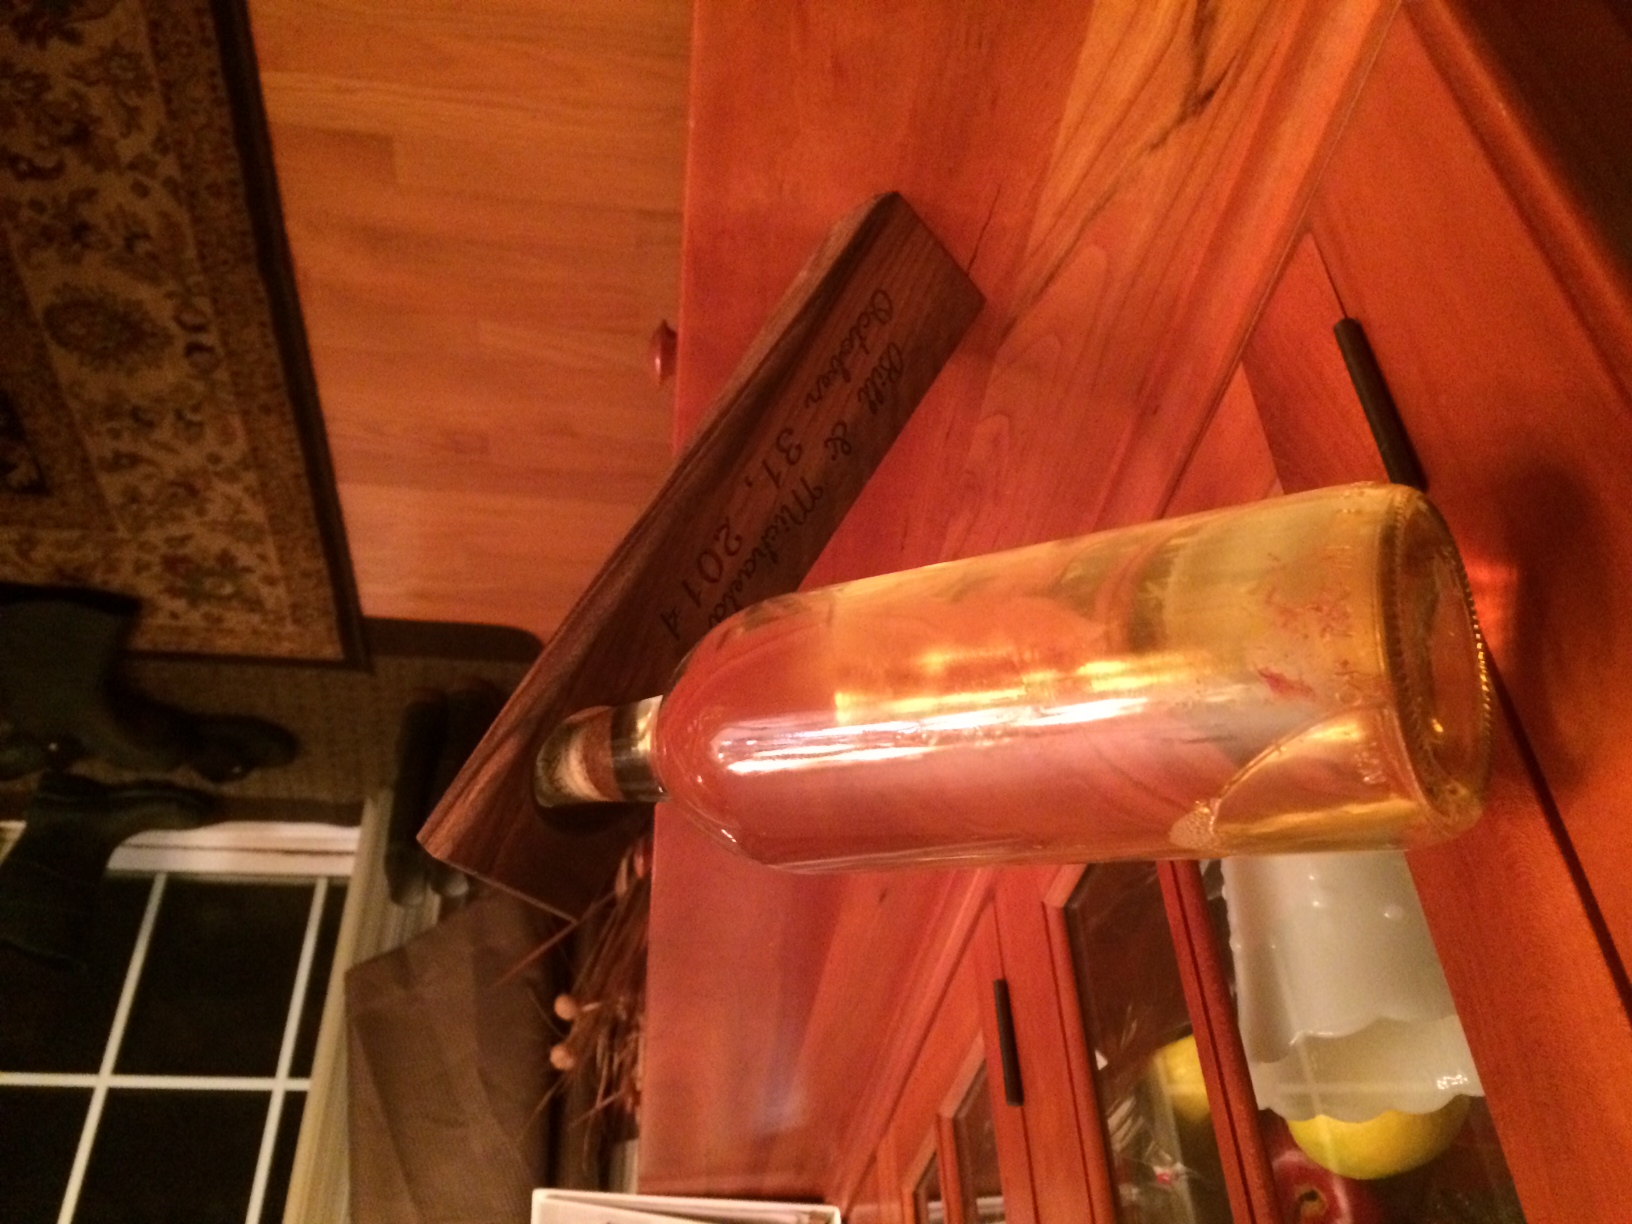
I made this nice cantilever wine bottle holder out of 3/4″ walnut and engraved it for my friends wedding. I ripped off a 2 1/2″ piece of black walnut from a piece of walnut I had purchased from The Woodery in Fitchburg. This isn’t an advertisement, but I do take notice when someone has excellent customer service and a fantastic selection of hardwoods, softwoods and exotics. I could spend all day in there picking out lumber.
Here’s how I got to the finished product – minus the engraving:
- Mark the board making sure you have selected nice grain patterns and don’t have a big knot that will fall out or other major blemish.
- Rip the stock down to the appropriate width
- Clean up sides if necessary with a hand plane or jointer
- Find the center of the stock and measure up 7 3/4″ from the bottom edge and mark across the centerline. This edge will be the edge you want sitting on the table.
- Drill a 1-1/2″ hole with a Forstner bit at the location marked in step 4 – make sure you don’t rip-out the edges around the hole too badly when you drill.
- Use your router table or hand router to ease the edges – except for the edge that will be cut at a 45 degree angle. Also ease the edges of the bottle opening. I used a 1/4″ round over bit. Depending on you wood, grain and style you may want to use a larger or smaller bit.
- In a mitre box or miter saw carefully cut the 45 degree angle in the bottom of the board. Be as precise as possible. The short edge will be the back of the bottle holder. Keep this in mind so the nicer of the grain faces out.
- Sand as necessary
The engraving was completed on my ShapeOko2 CNC Router with the following setup and feedrates:
- Hershey Text (single line) rendered in inkscape
- Centered text at 0,0 in inkscape and exported SVG
- Import SVG into Makercam (Easel would not import SVG)
- Set SVG Import Default Resolution to 90 (Edit > Edit Preferences)
- Load the Exported SVG file (it should be centered about 0,0)
- Verify engraving size versus inkscape
- Select the paths in Makercam and select CAM > Follow Path Operation
- Tool Diameter: 0.0625″
- Target Depth: -0.04 “
- Safety Height: 0.125″
- Step Down: 0.04″
- Feed Rate: 32″/min
- Plunge Rate: 9″/min

Export the Gcode from Makercam and setup the router with a 60° Milescraft (#2214) 1/4″ V-groove Router Bit. The router should be centered on where the center of text to be engraved with. Set the “Z” height to the top surface of the wood. I find using a piece of paper helps when lowering the bit so it just barely snags on the paper. This prevents an unsightly scratch or dimple on the top of the wood. Once the tool is setup turn on your shapeoko power supply to lock the axis and use Universal Gcode Sender to first visualize and then to send the Gcode to the router. If you still aren’t 100% confident use a piece of scrap and test engraving on that.
When finished routing give a light sanding to the front surface to remove any stray fibers left by the engraving. I also find using a dental pick also helps pick debris out of the carving if needed. Make sure not to create any sanding marks while cleaning up. When it looks satisfactory a couple coats of Boiled Linseed Oil was used to bring out the character of the wood. Nothing else was applied and at this point the wine holder is finished.