I found my self in need of a small router table to clean up edges of some small parts. I have a pretty nice Porter Cable 890 Series router and adjustable base already and wanted to be able to make use of it for these smaller parts. How hard could it be to build a router table? I didn’t want to spend upwards of $100 for a piece of junk and it turns out a decent table can be built for far less. I think the total bill of materials came out to be around $20.00 including hardware. I also wanted something that would take little or no room to store.

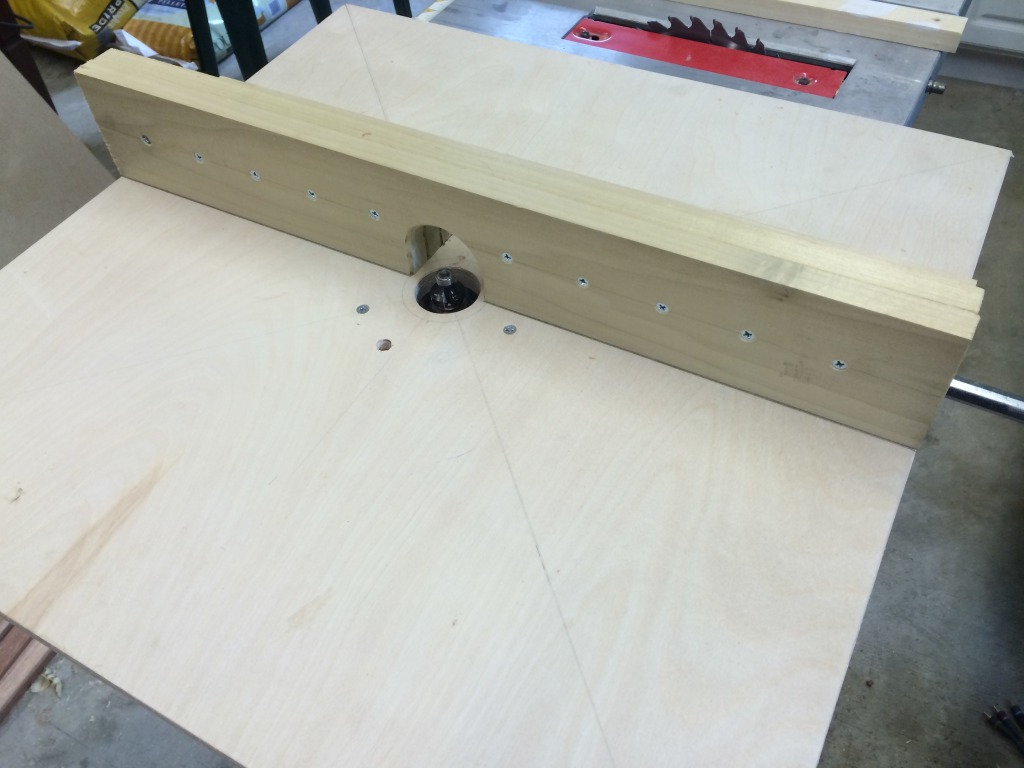
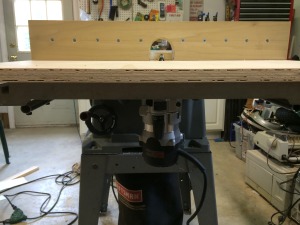
I decided to make use of the slide-out extension of my table saw for support. While this is not as study as a stan-alone router table I don’t plan on putting anything heavy or large on it so this is more than adequate. I started by ripping my sheet of plywood down to 2’x2′ and drawing diagonals across it. I then used my carpenter square to bisect the board into quarters. Using these guides I placed the clear base-plate for my router onto the lines so the adjustments were facing me. I marked the location of all the holes. Only 3 holes are really needed for my router the other one is for table-top height adjustment of the base.
I used a Forstner bit tocut the large opening in the table. The smaller holes were drilled and countersunk to accept the 10-24 hardware to mount the router. Depending on whether you need a fence or not you might be finished. Mount up the route using the longer hardware and start using it! If you do need a fence read on.
For the fence I used poplar. I started by cutting 3 two foot pieces. Two of them are for the front of the fence and the other is for the base. The second one on the front of the fence is optional but it is a sacrificial board that can be screwed or nailed into for stops etc. I marked out the location of where I wanted holes drilled out with the Forstner bit again and cut the edges on my band saw. I marked a line 3/8″ up from the bottom edge of the first board and marked out some pilot holes for the #8 wood screws. I drilled 1/8″ pilot holes and countersunk the front of the fence. I used some wood glue then screwed them together making certain they were square (90 degrees) to each other.
I then aligned and clamped in the sacrificial board. I marked a line across the center and drilled some pilot holes for the #8 screws and countersunk them and attached the sacrificial board to the front of the fence. This fence can be clamped at either end or you can use a 5/16 bolt to pivot it on as I did and tighten it down as needed.

I plan on building a dust-collection box for the fence that can be hooked up to my shop-vac.
Materials:
- 1″x4″x6′ Poplar
- 2’x2’x3/4″ Birch Plywood
- (1) 5/16″ x 2″ bolt and nut
- (18) #8 x 1 1/2″ Wood screws
- (3) 10-24 x 1 1/4″ Machine Screws
Tools:
- Table saw
- Drill
- Basic hand tools